Van's Aircraft RV-7 Kit Construction / Empennage Assembly
Building a Van's RV-7 aircraft from a kit split across 20 years. This log documents the restart of construction work—daily progress through rudder assembly, fabrication techniques, tool failures, parts mishaps, and lessons learned the hard way. Every mistake gets documented. Every rivet that doesn't sit flush gets recorded. This is the unfiltered build process.
Current focus: Empennage (tail section) assembly, starting with rudder construction, surface preparation, and priming systems.
26OCT2025
Disassembly and Prep Work
Spent half an hour cleaning the shop, then it's time to disassemble the rudder in prep for dimpling, deburring, etching, cleaning, and priming before final assembly. Need to do some research on the trailing edge approach as well.
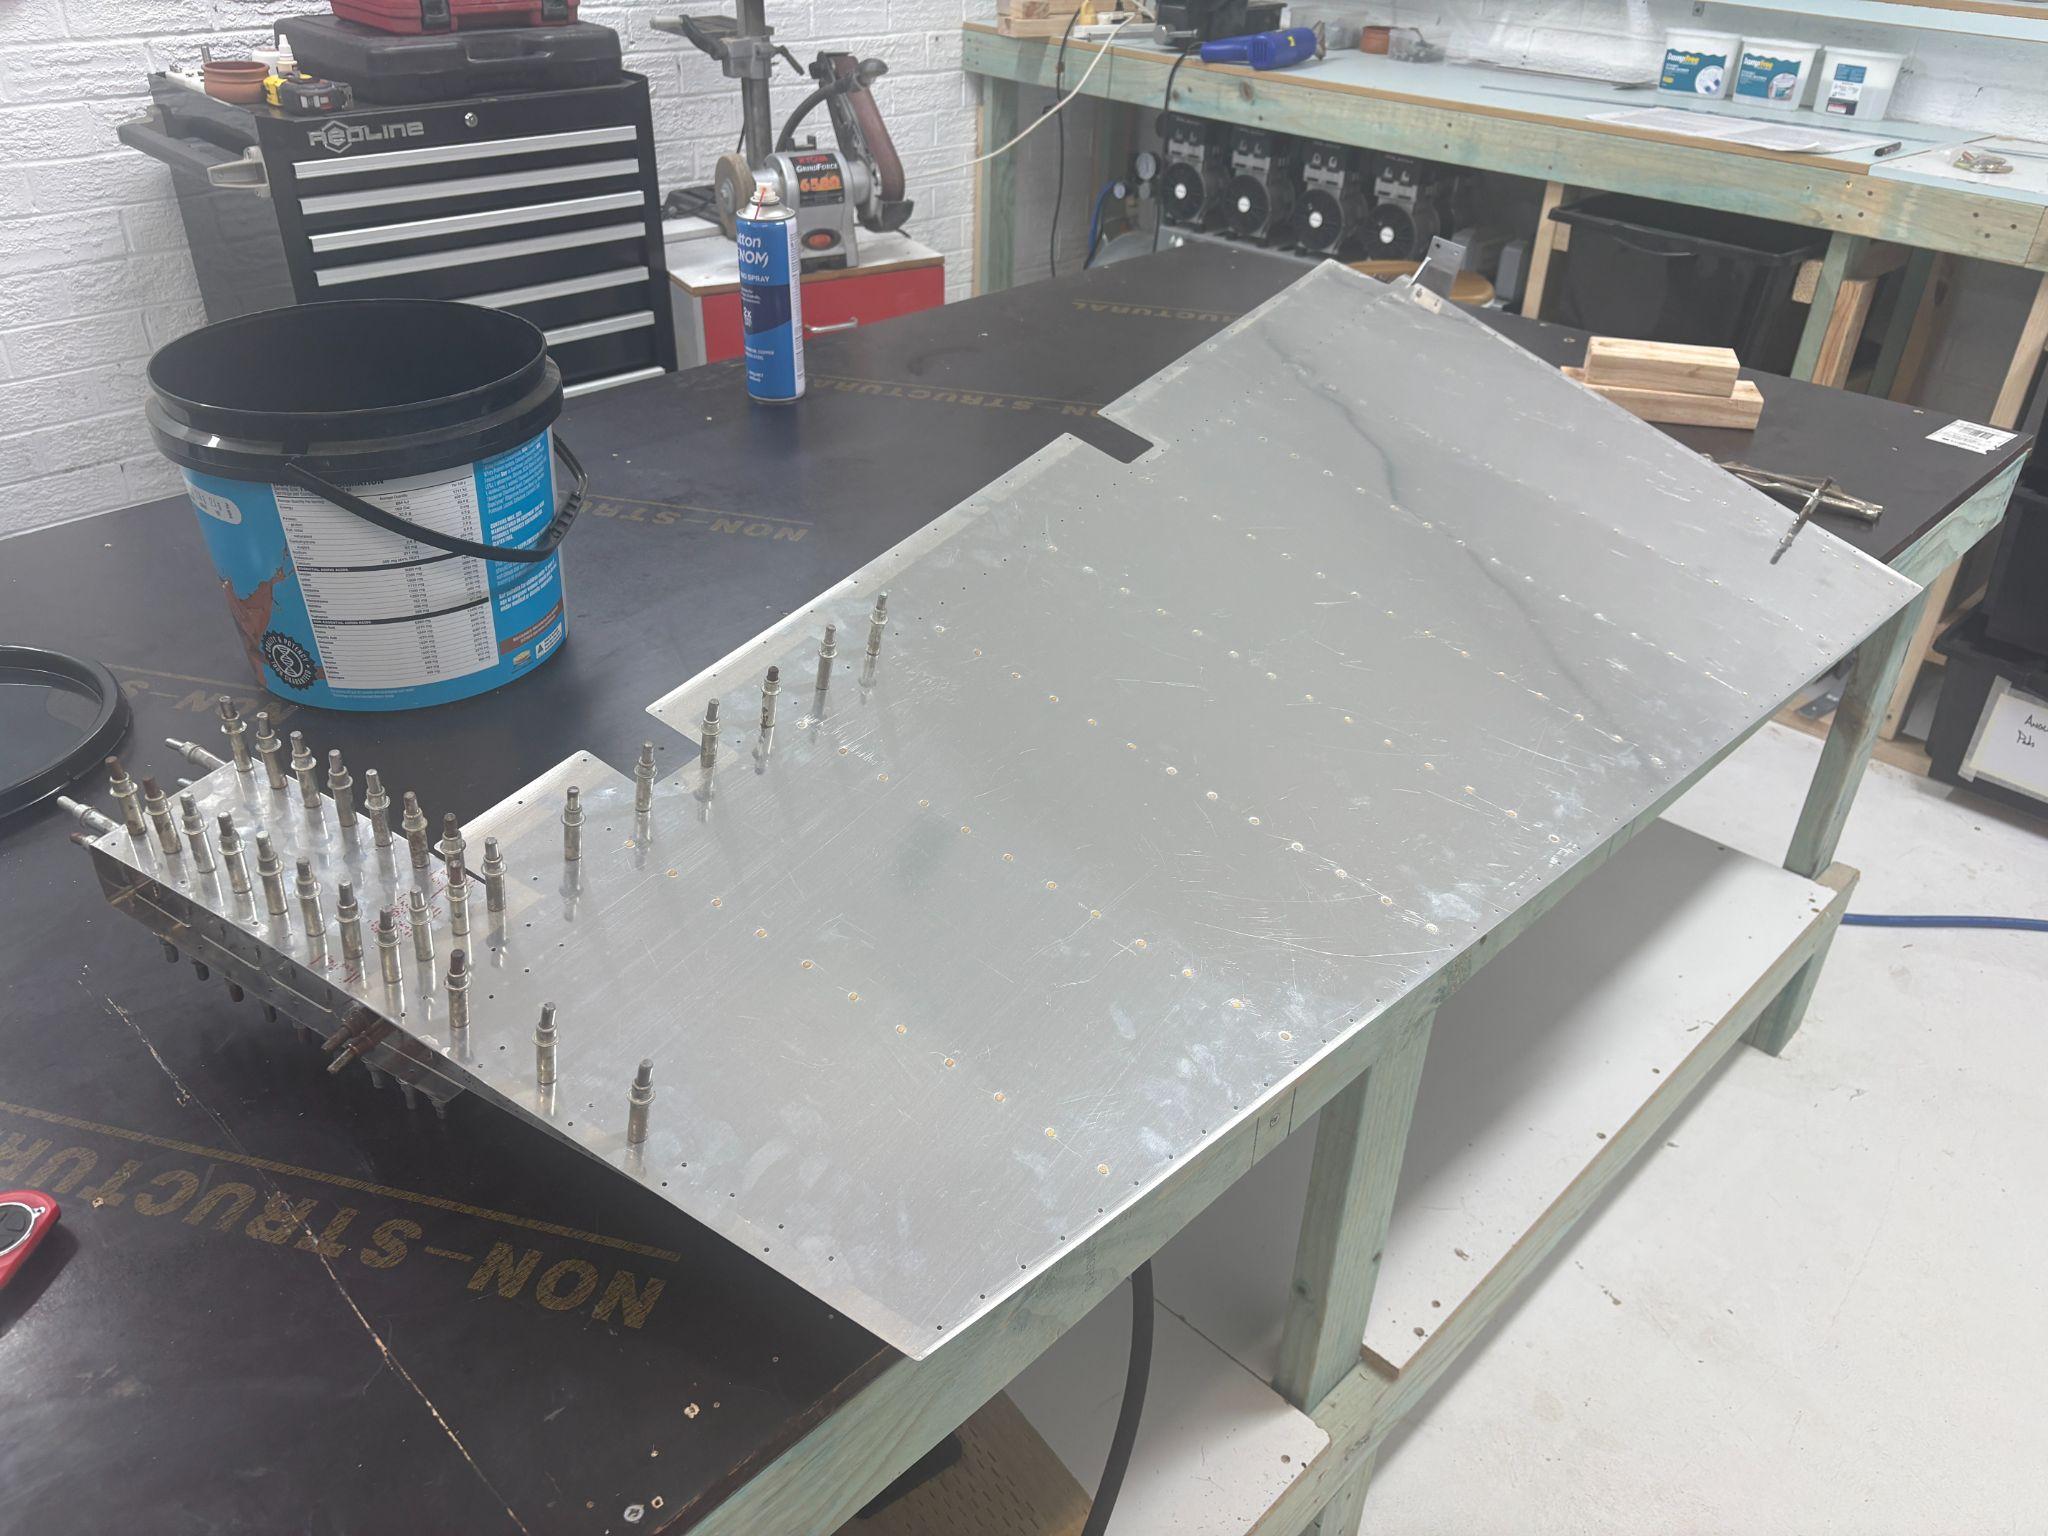
Fully disassembled. Loads of swarf and sharp edges. Skins first.Pulled the dimpling rig out and did both skins before realizing I should have deburred first. On close inspection, no damage was done.
Lesson learned: Deburr before dimpling. Got lucky this time—close inspection showed no damage from doing it backwards.
Time: ~2 hours
25OCT2025
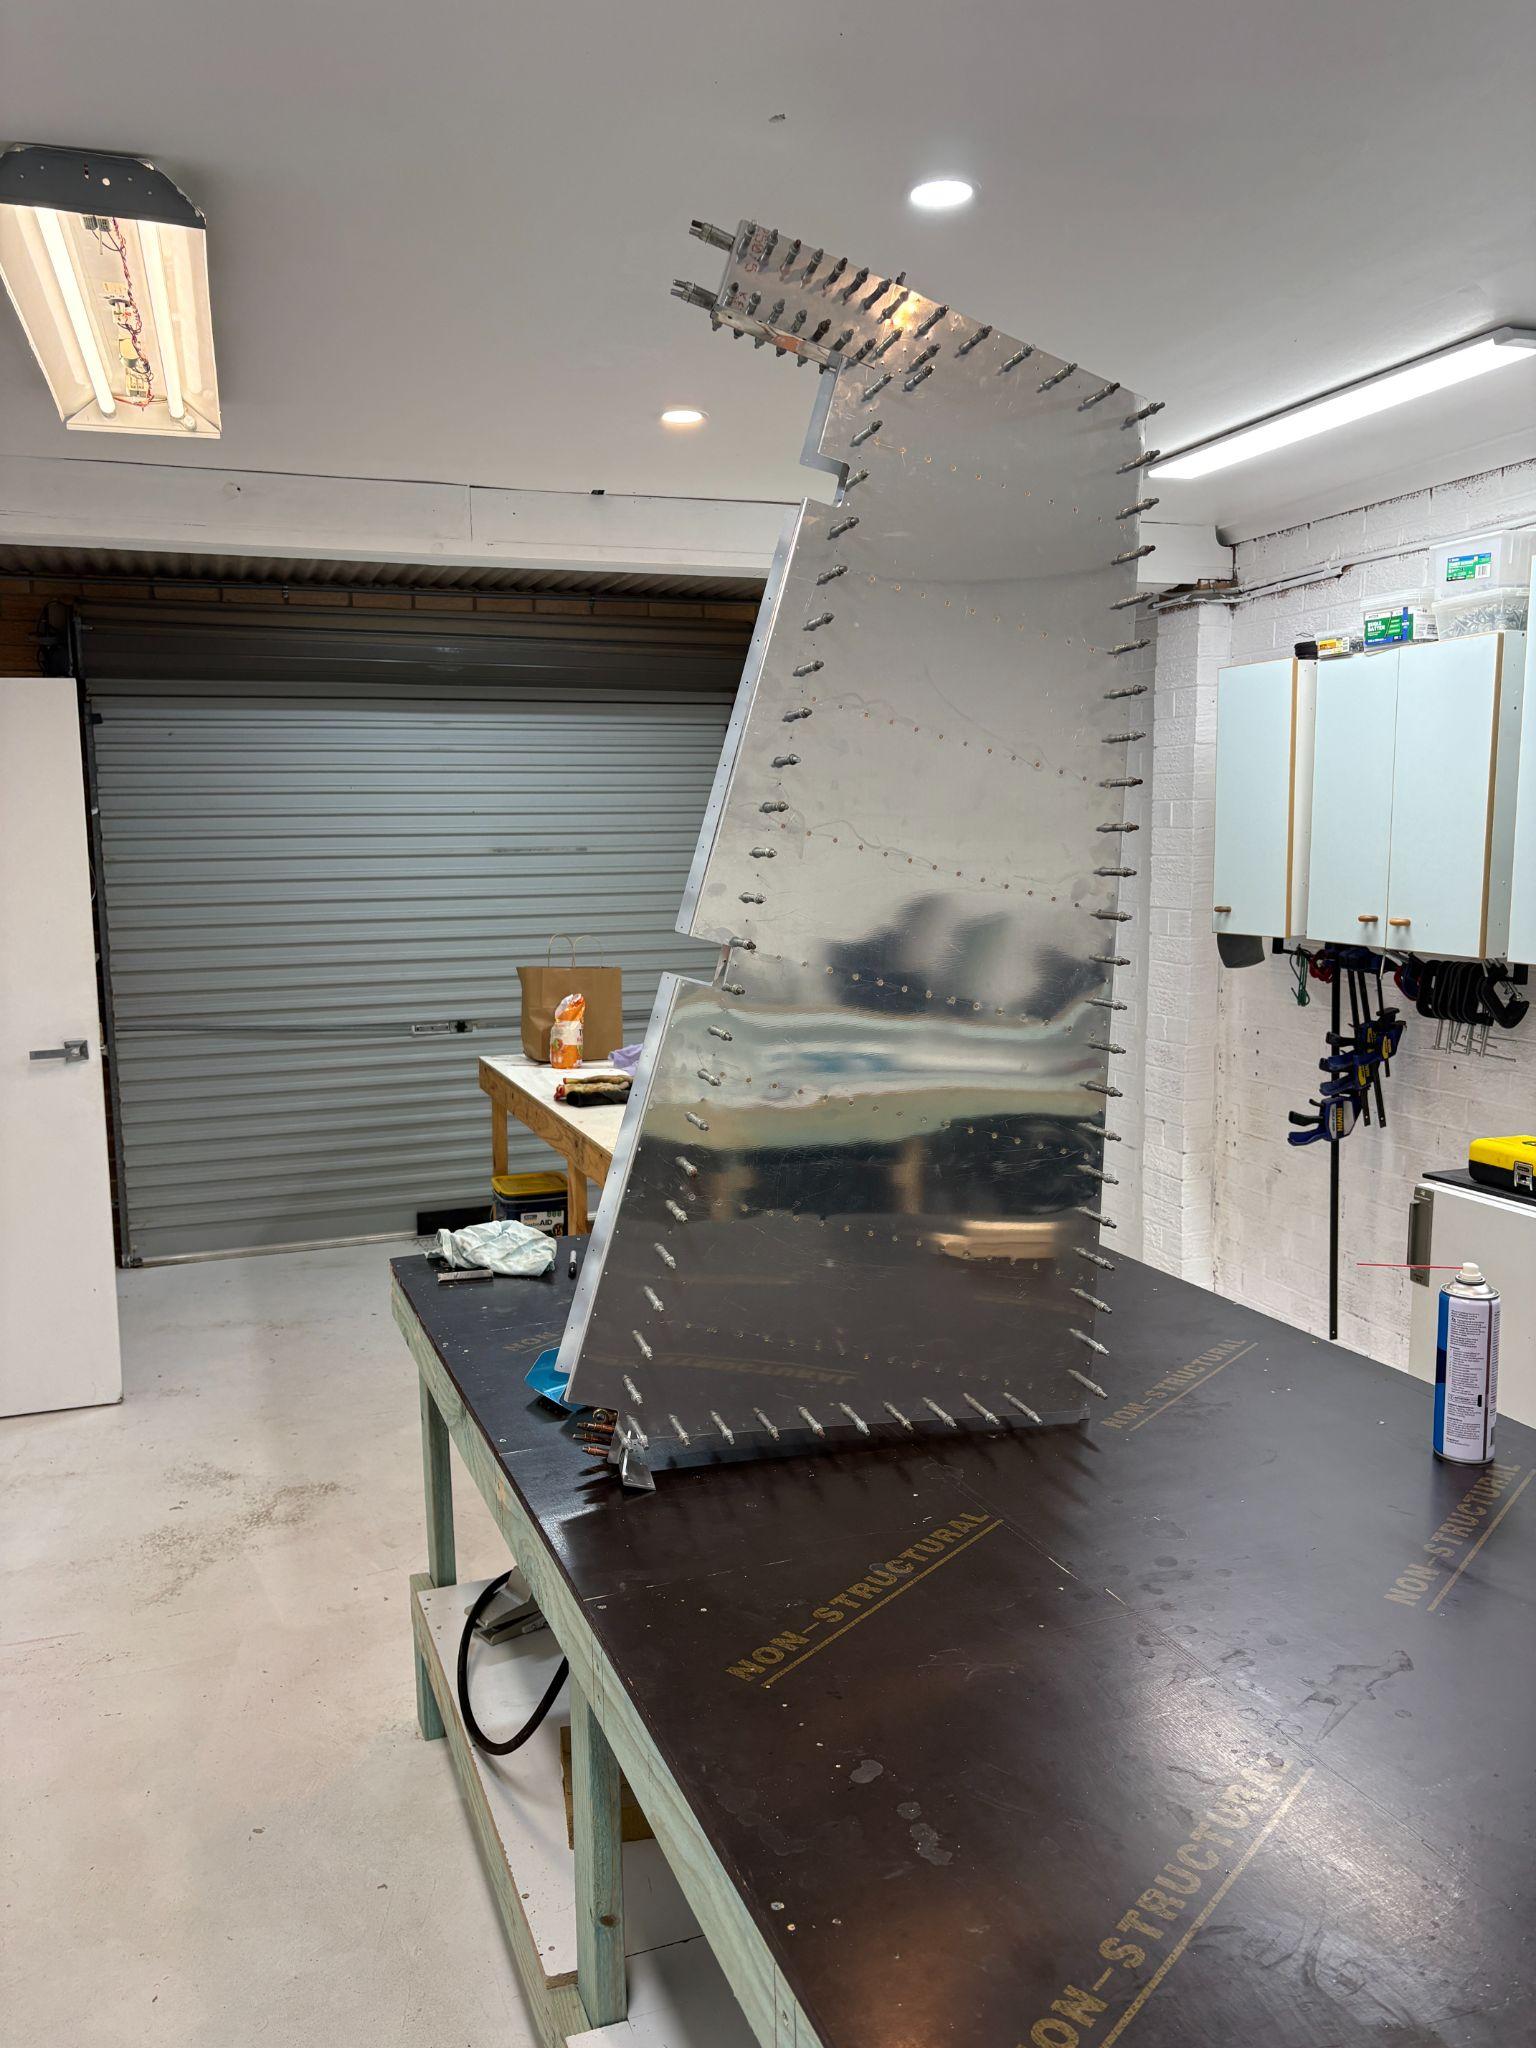
Rudder Drilling Complete
Back to work on the rudder, page 6-6 on the plans. Last week I got all skins clecoed on. Just finished drilling all skins to #40, including the trailing edge.
R-710, pre-trim and fitFinal fit after trimming
Critical warning on the R-710 trim and fit: This cut is deceiving. I'd recommend reading as much about it as possible before starting to remove material. The gist of the danger is this—if the cut line is too far in, you won't have enough space for the rivets which need to come through from the skins.
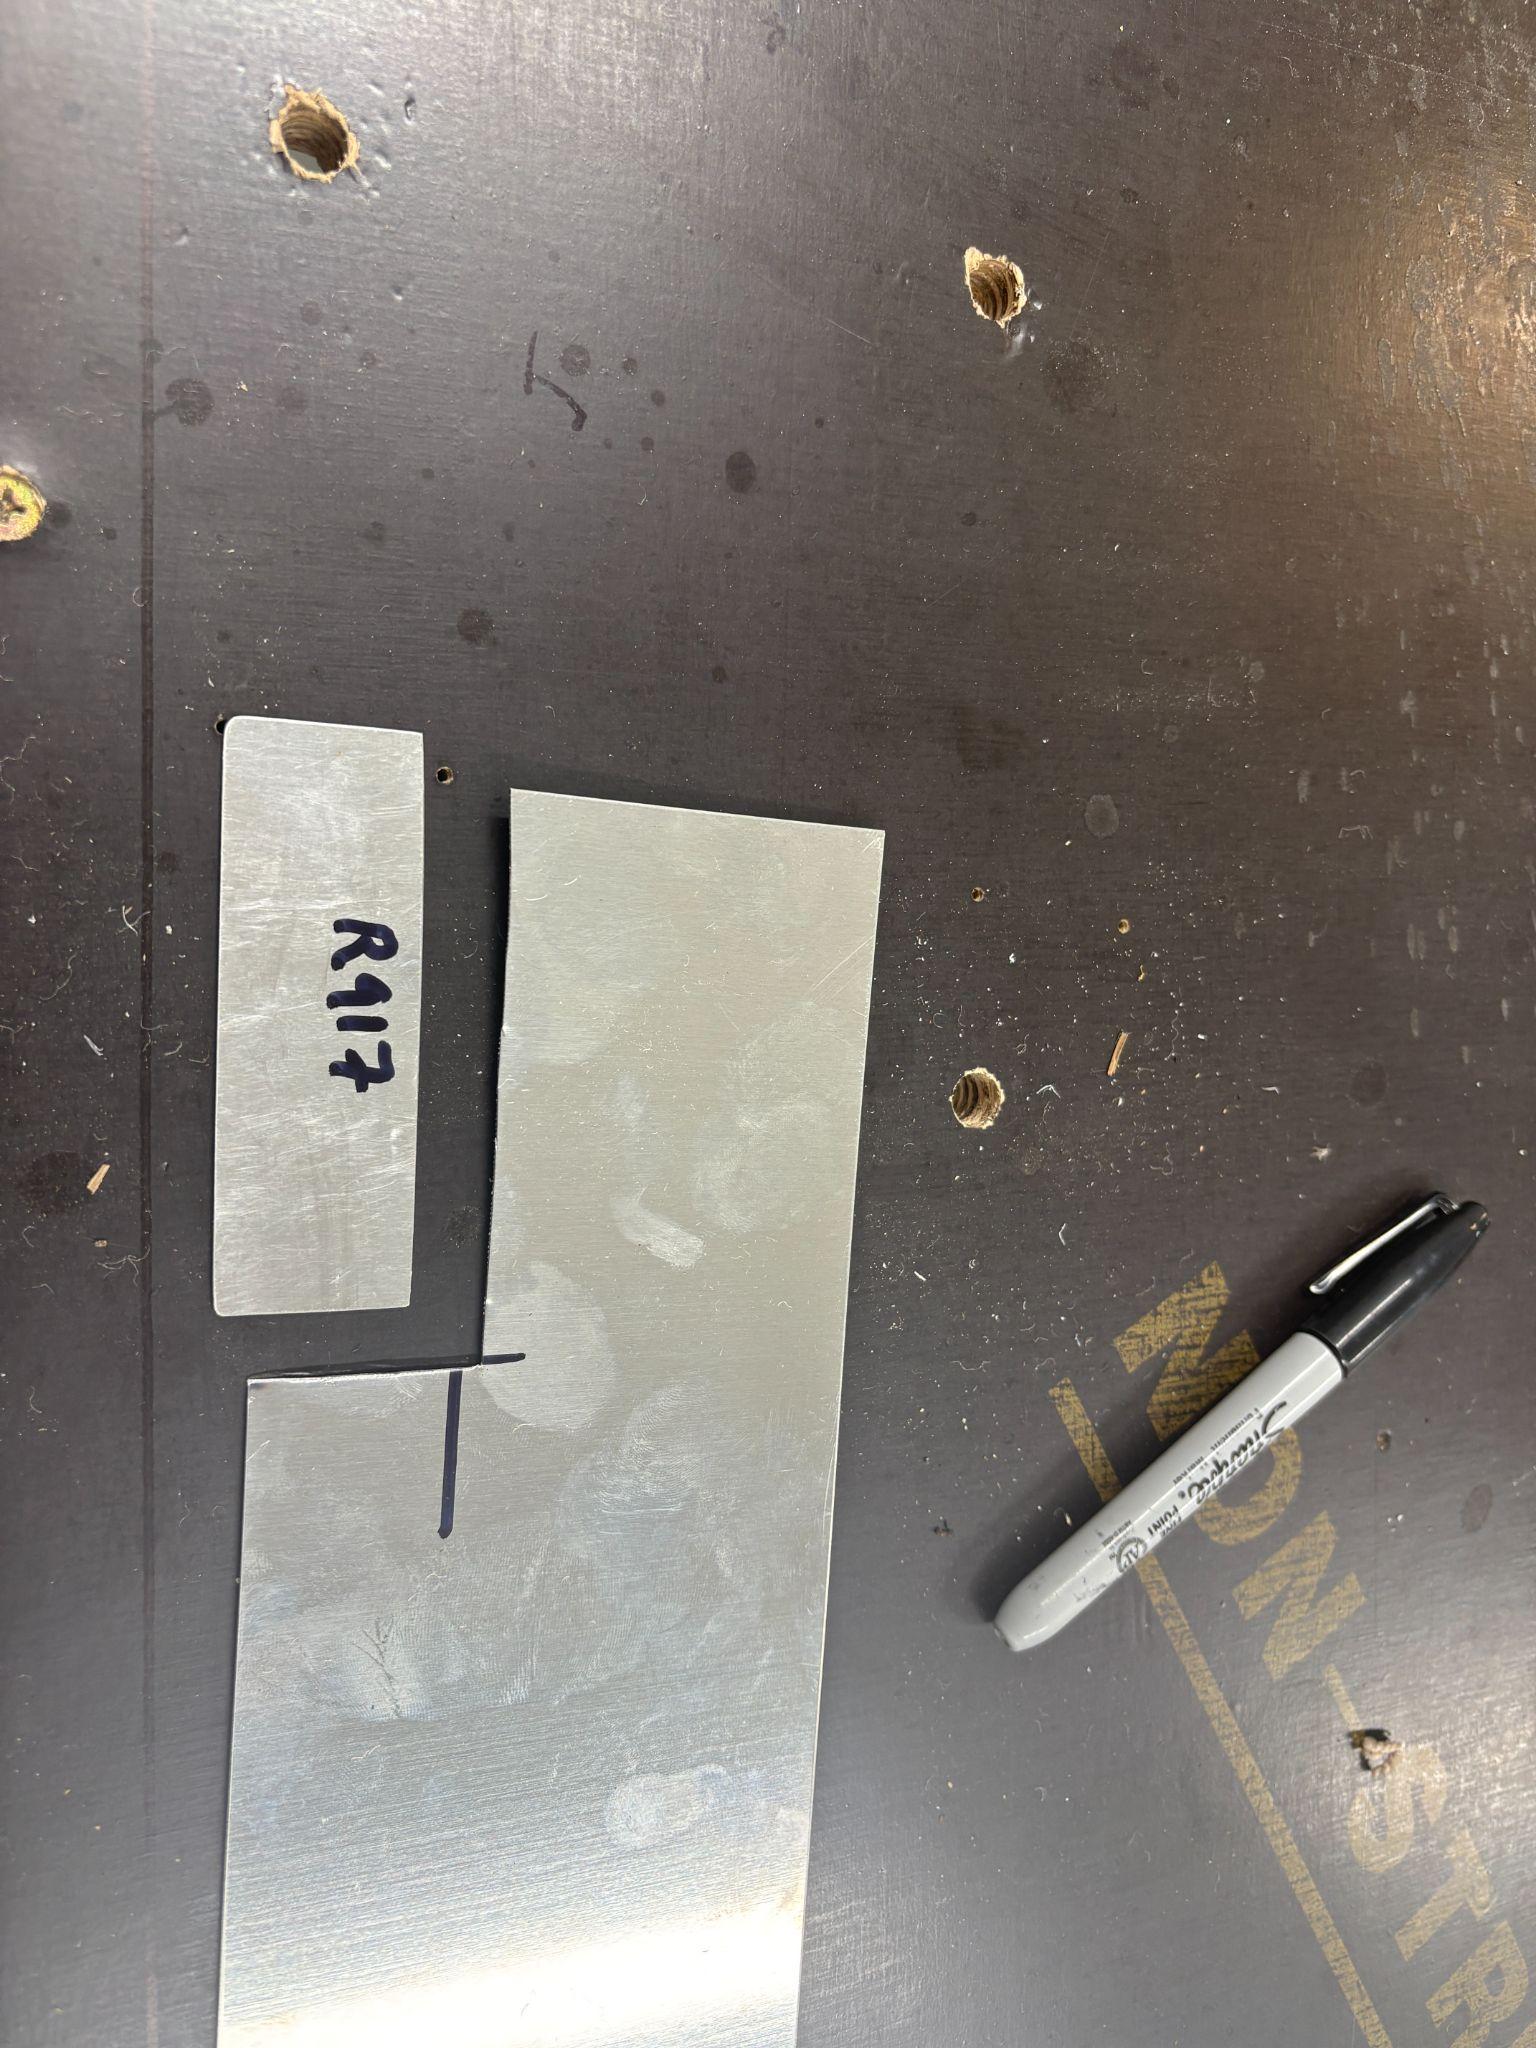
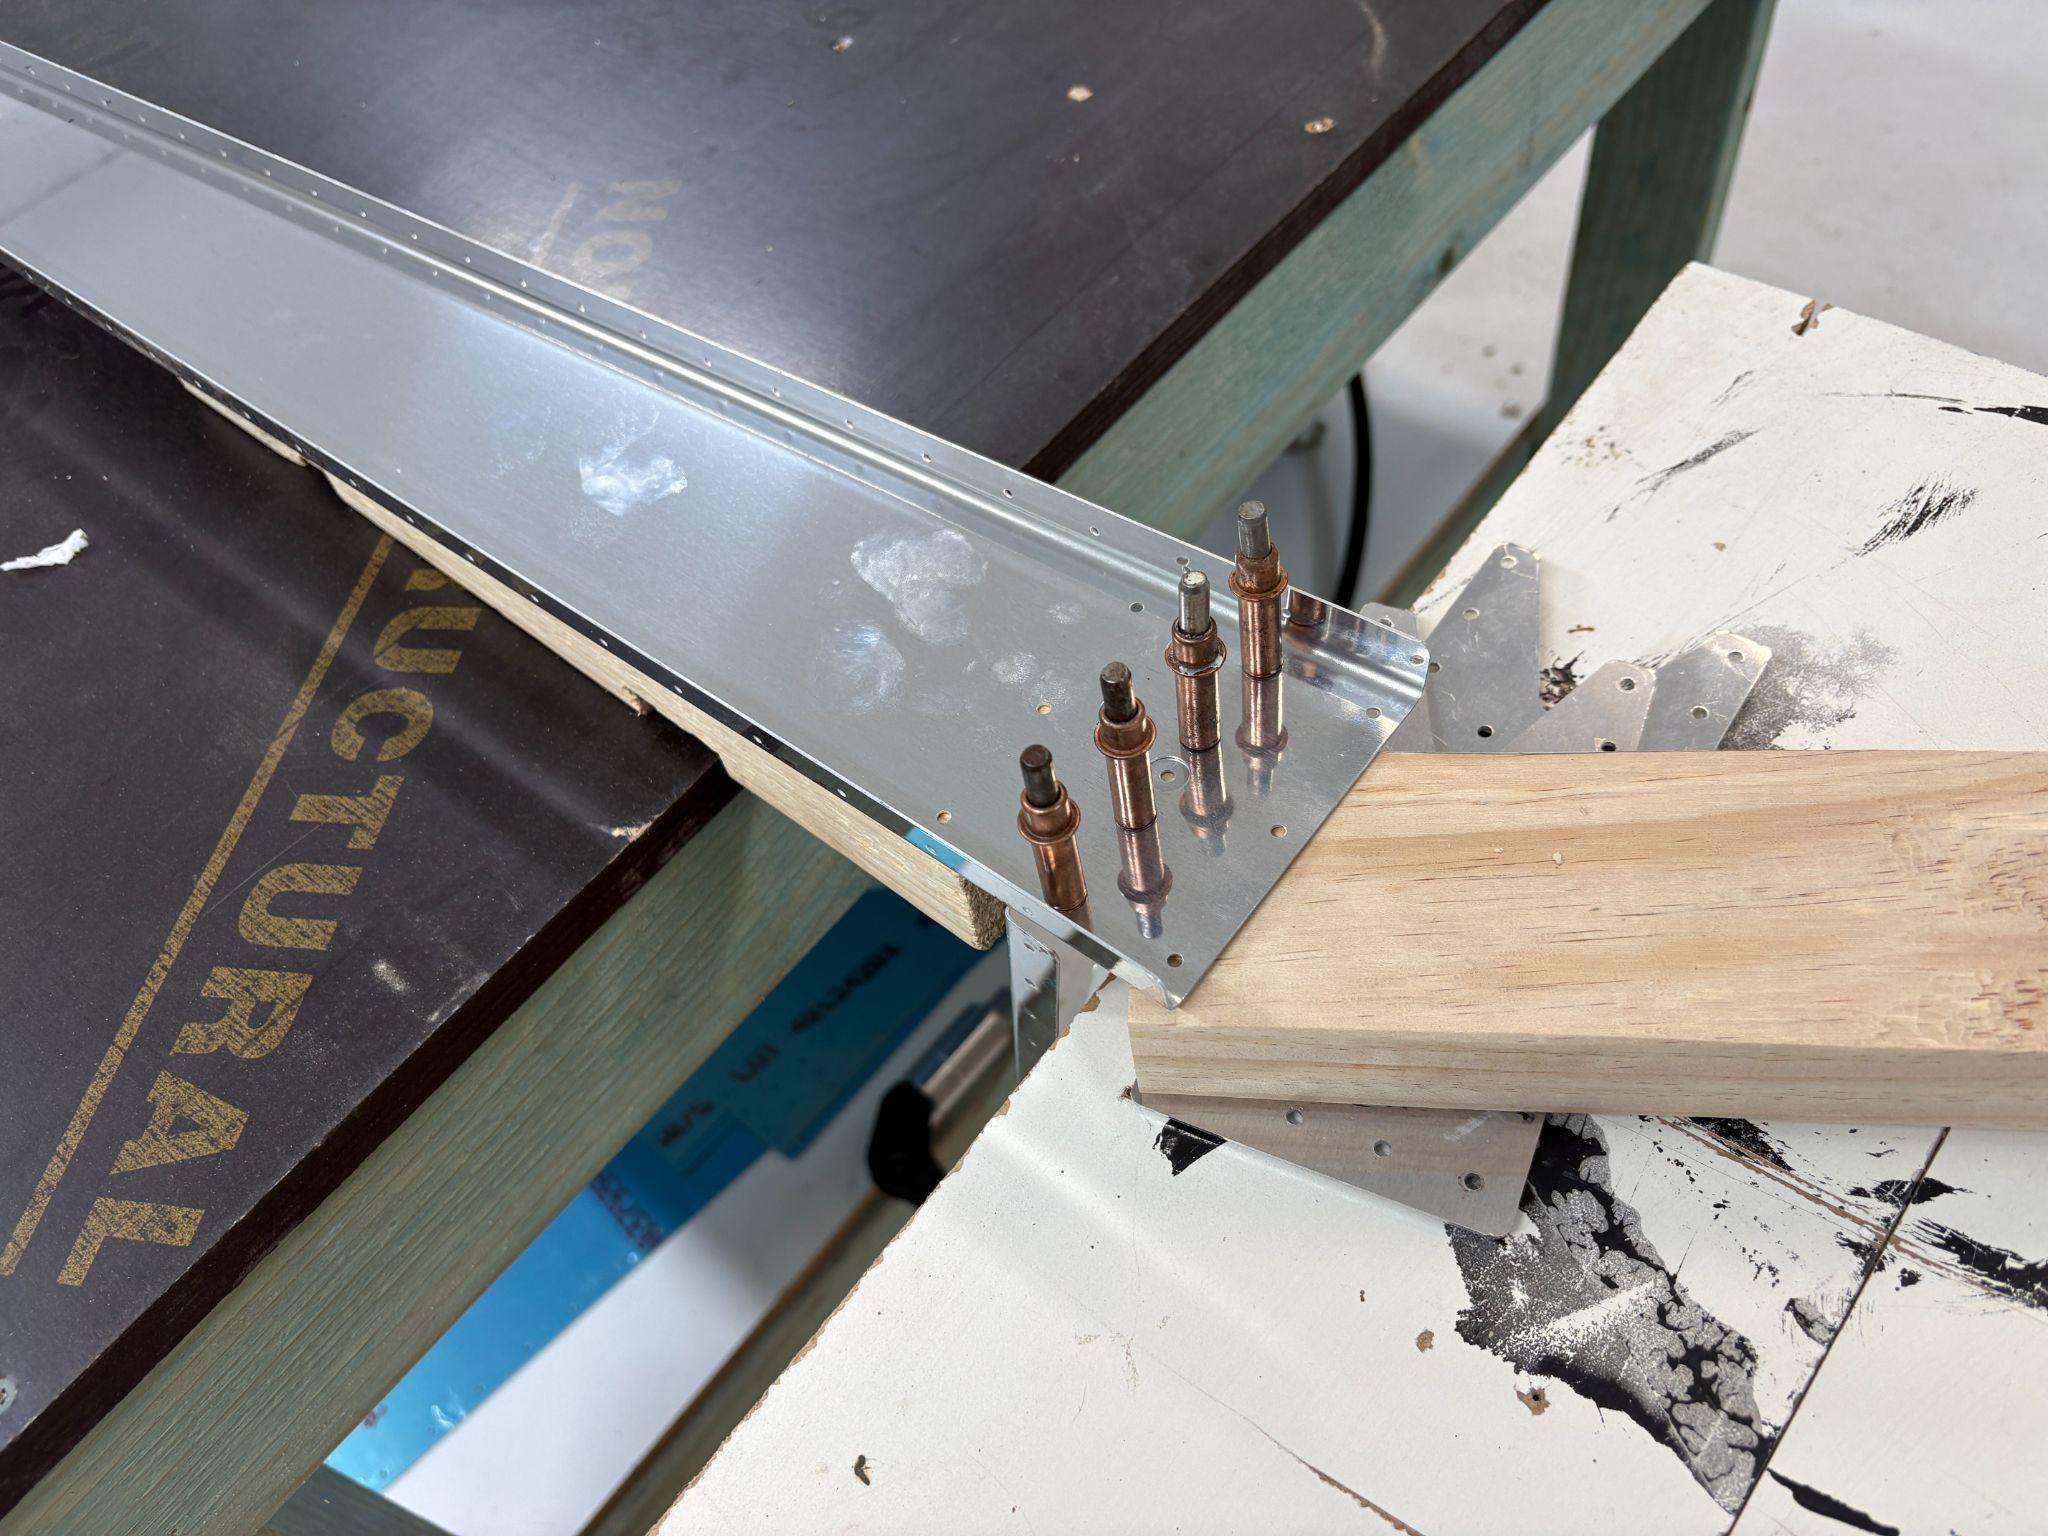
Single R-918 bottom attach strip, after drilling
Next step was to fabricate the R-918 bottom attach strips. Nothing unusual—just follow the instructions. Of interest: I needed to go out and purchase an imperial ruler for this step.
Time: ~4 hours
19OCT2025
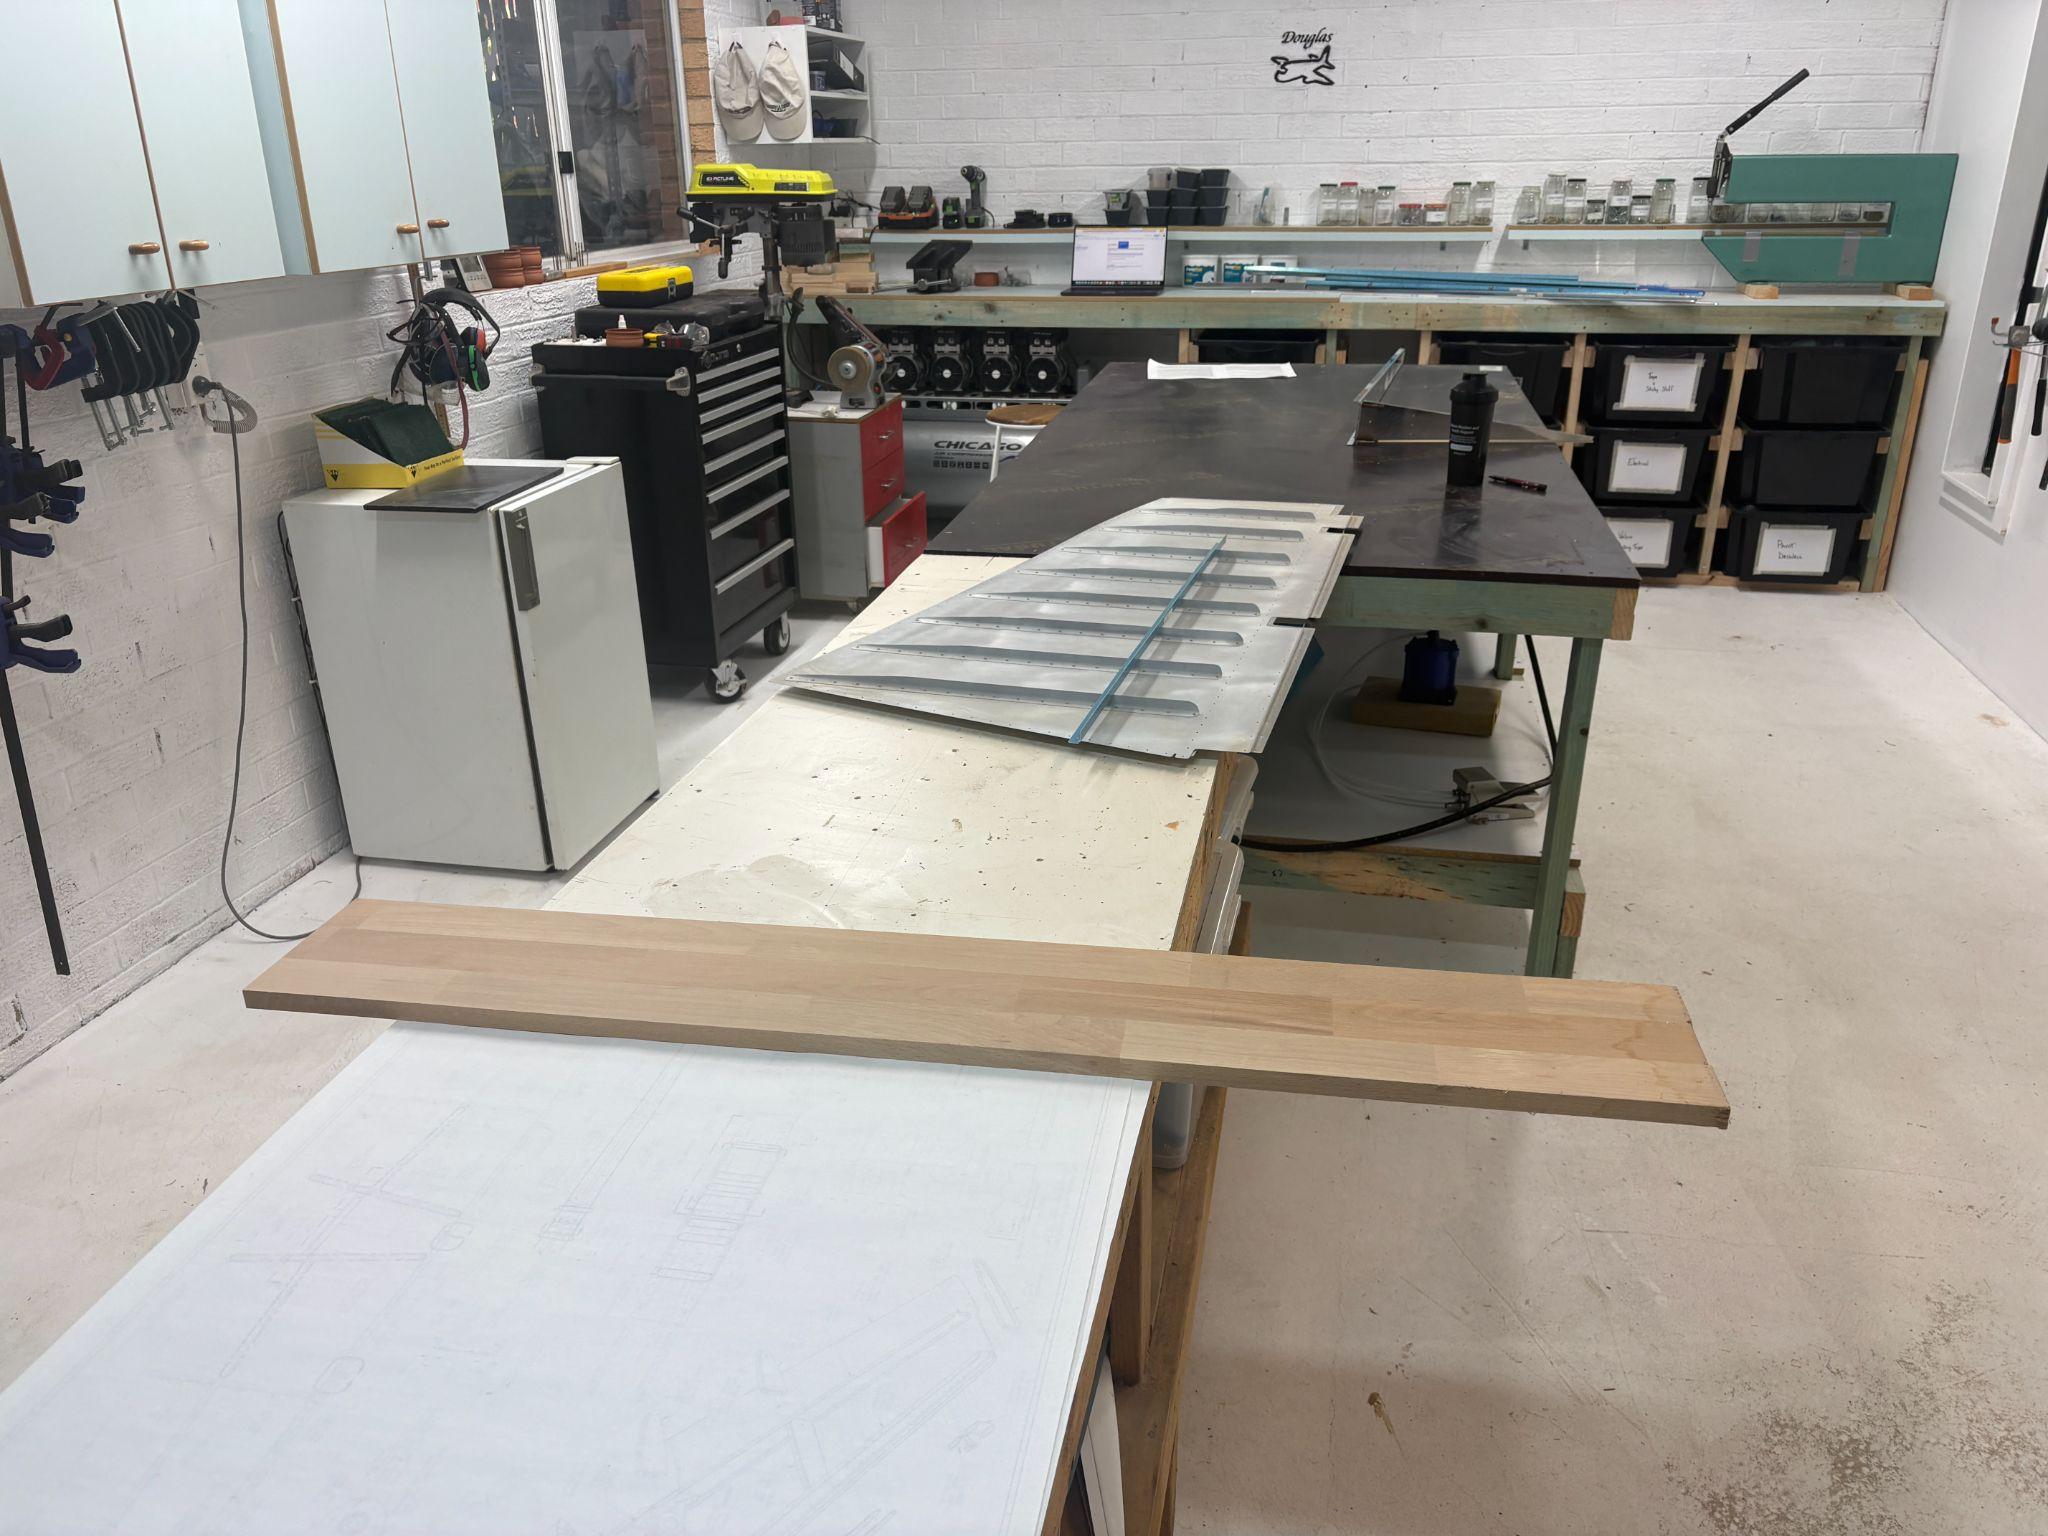
Organization and Storage Setup
It's pretty amazing how much time is spent just moving things around. Started the day by taking a desk out of the downstairs office and shifting the remaining two around. Moved one of the wire shelf racks in from the garage, then sorted the remaining empennage parts along with the skins from the shop into the storage racks.
Empennage parts and skins organized in storage racksShop layout after organization work
Time: ~3 hours (organization only)
12OCT2025
Rudder Work - Hard Lessons Learned
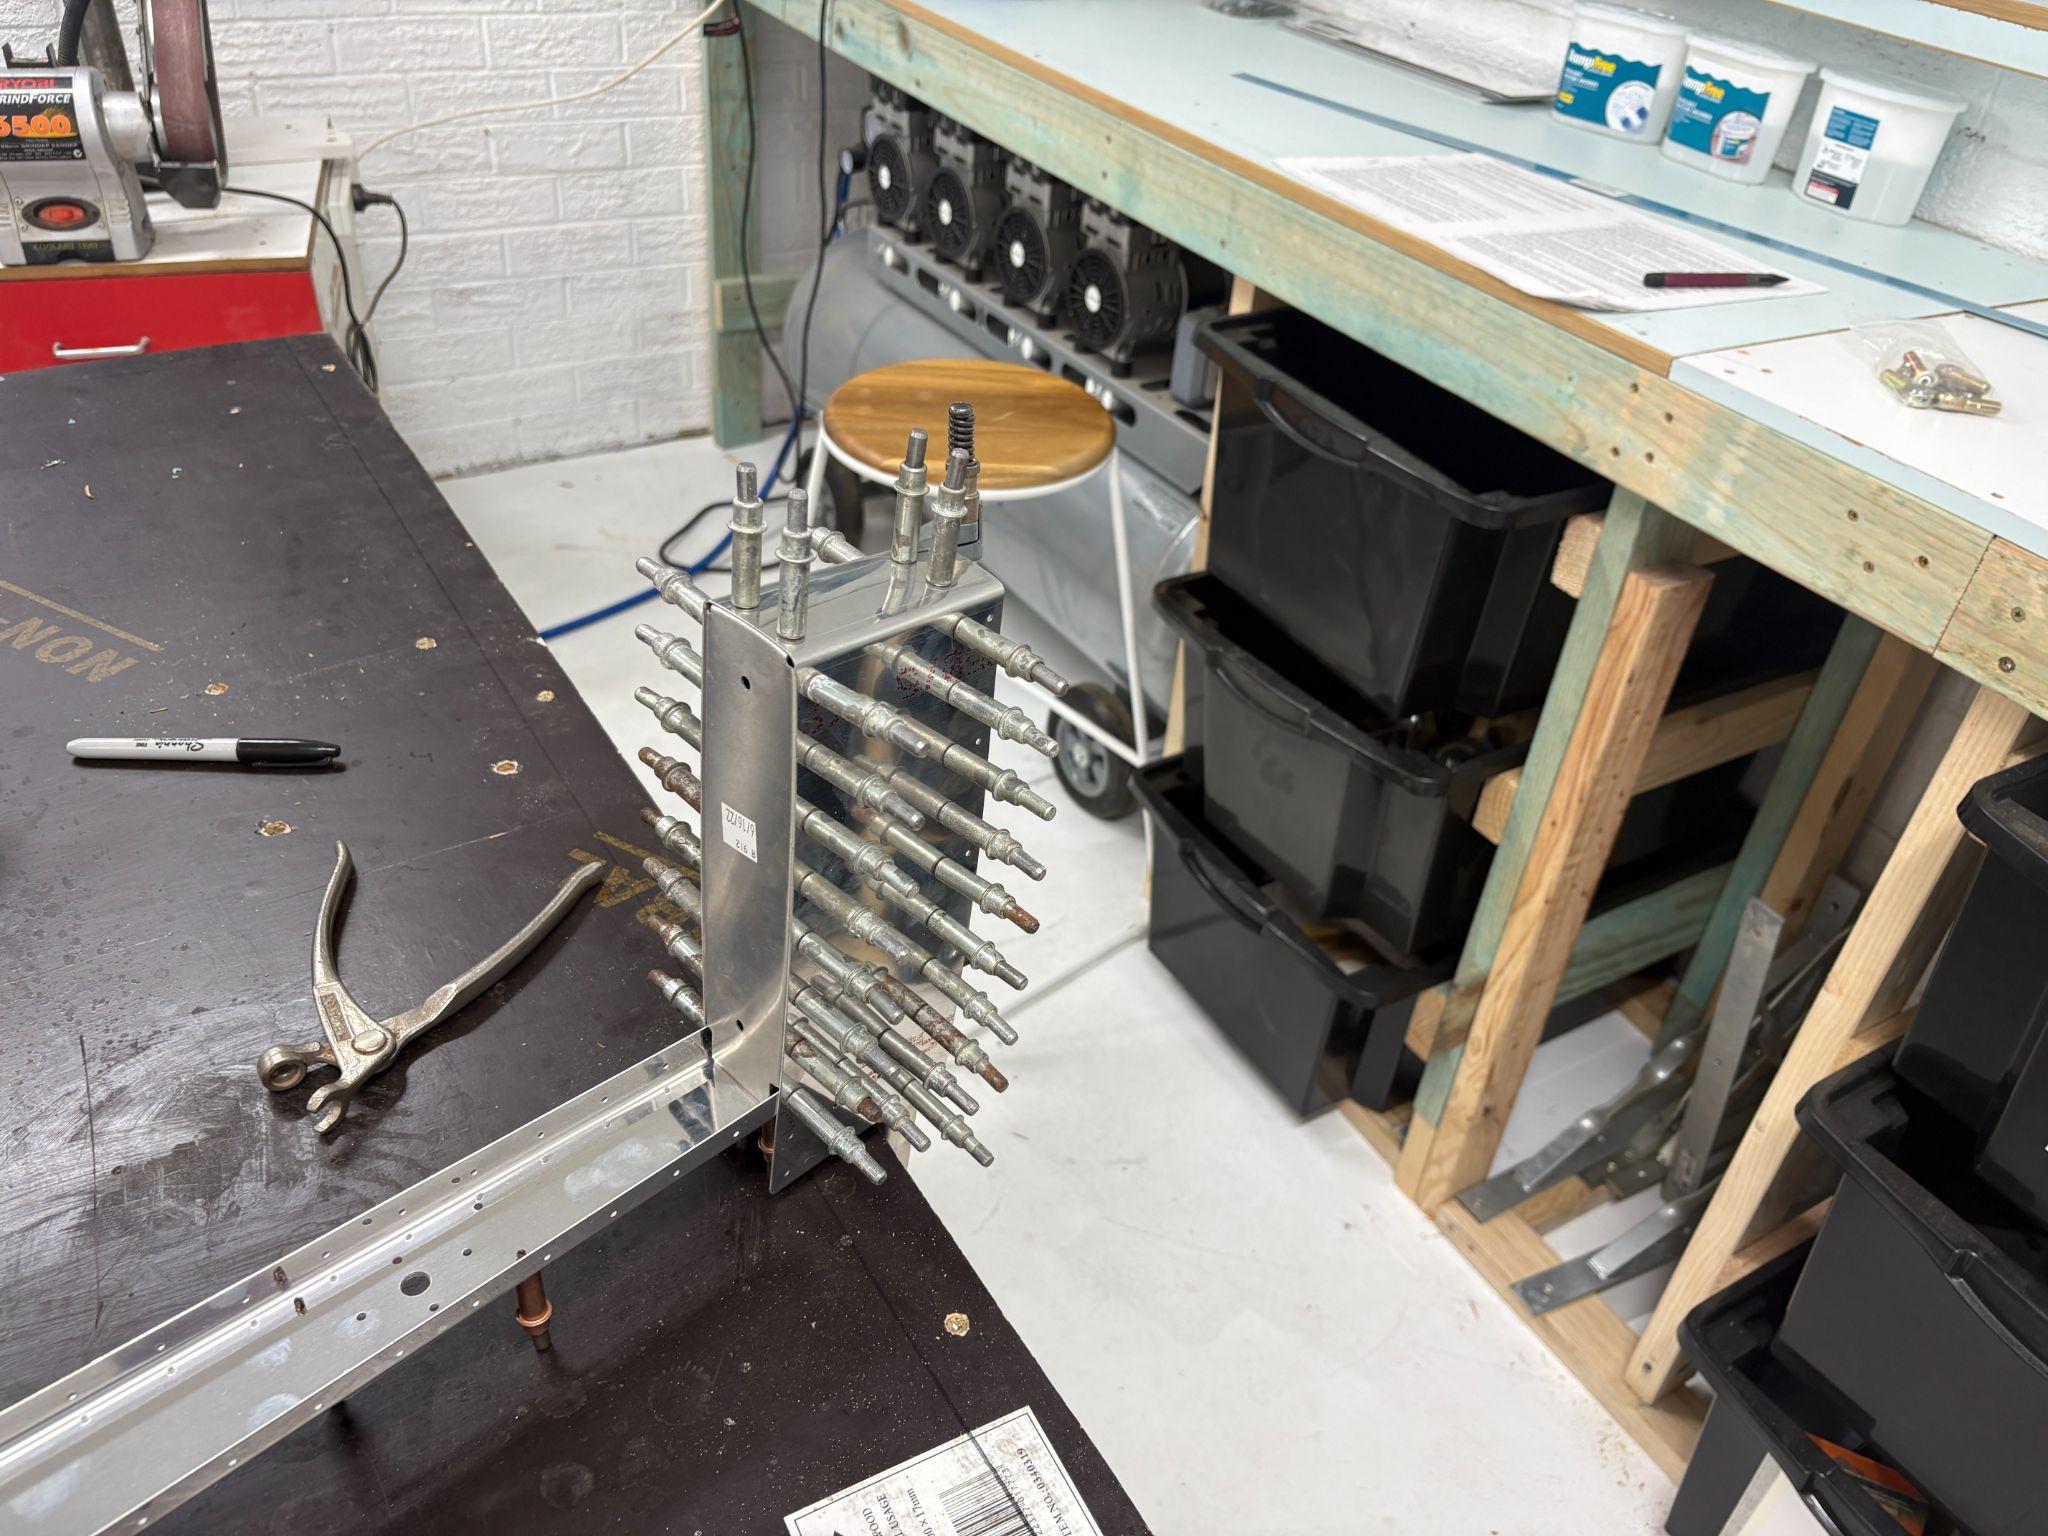
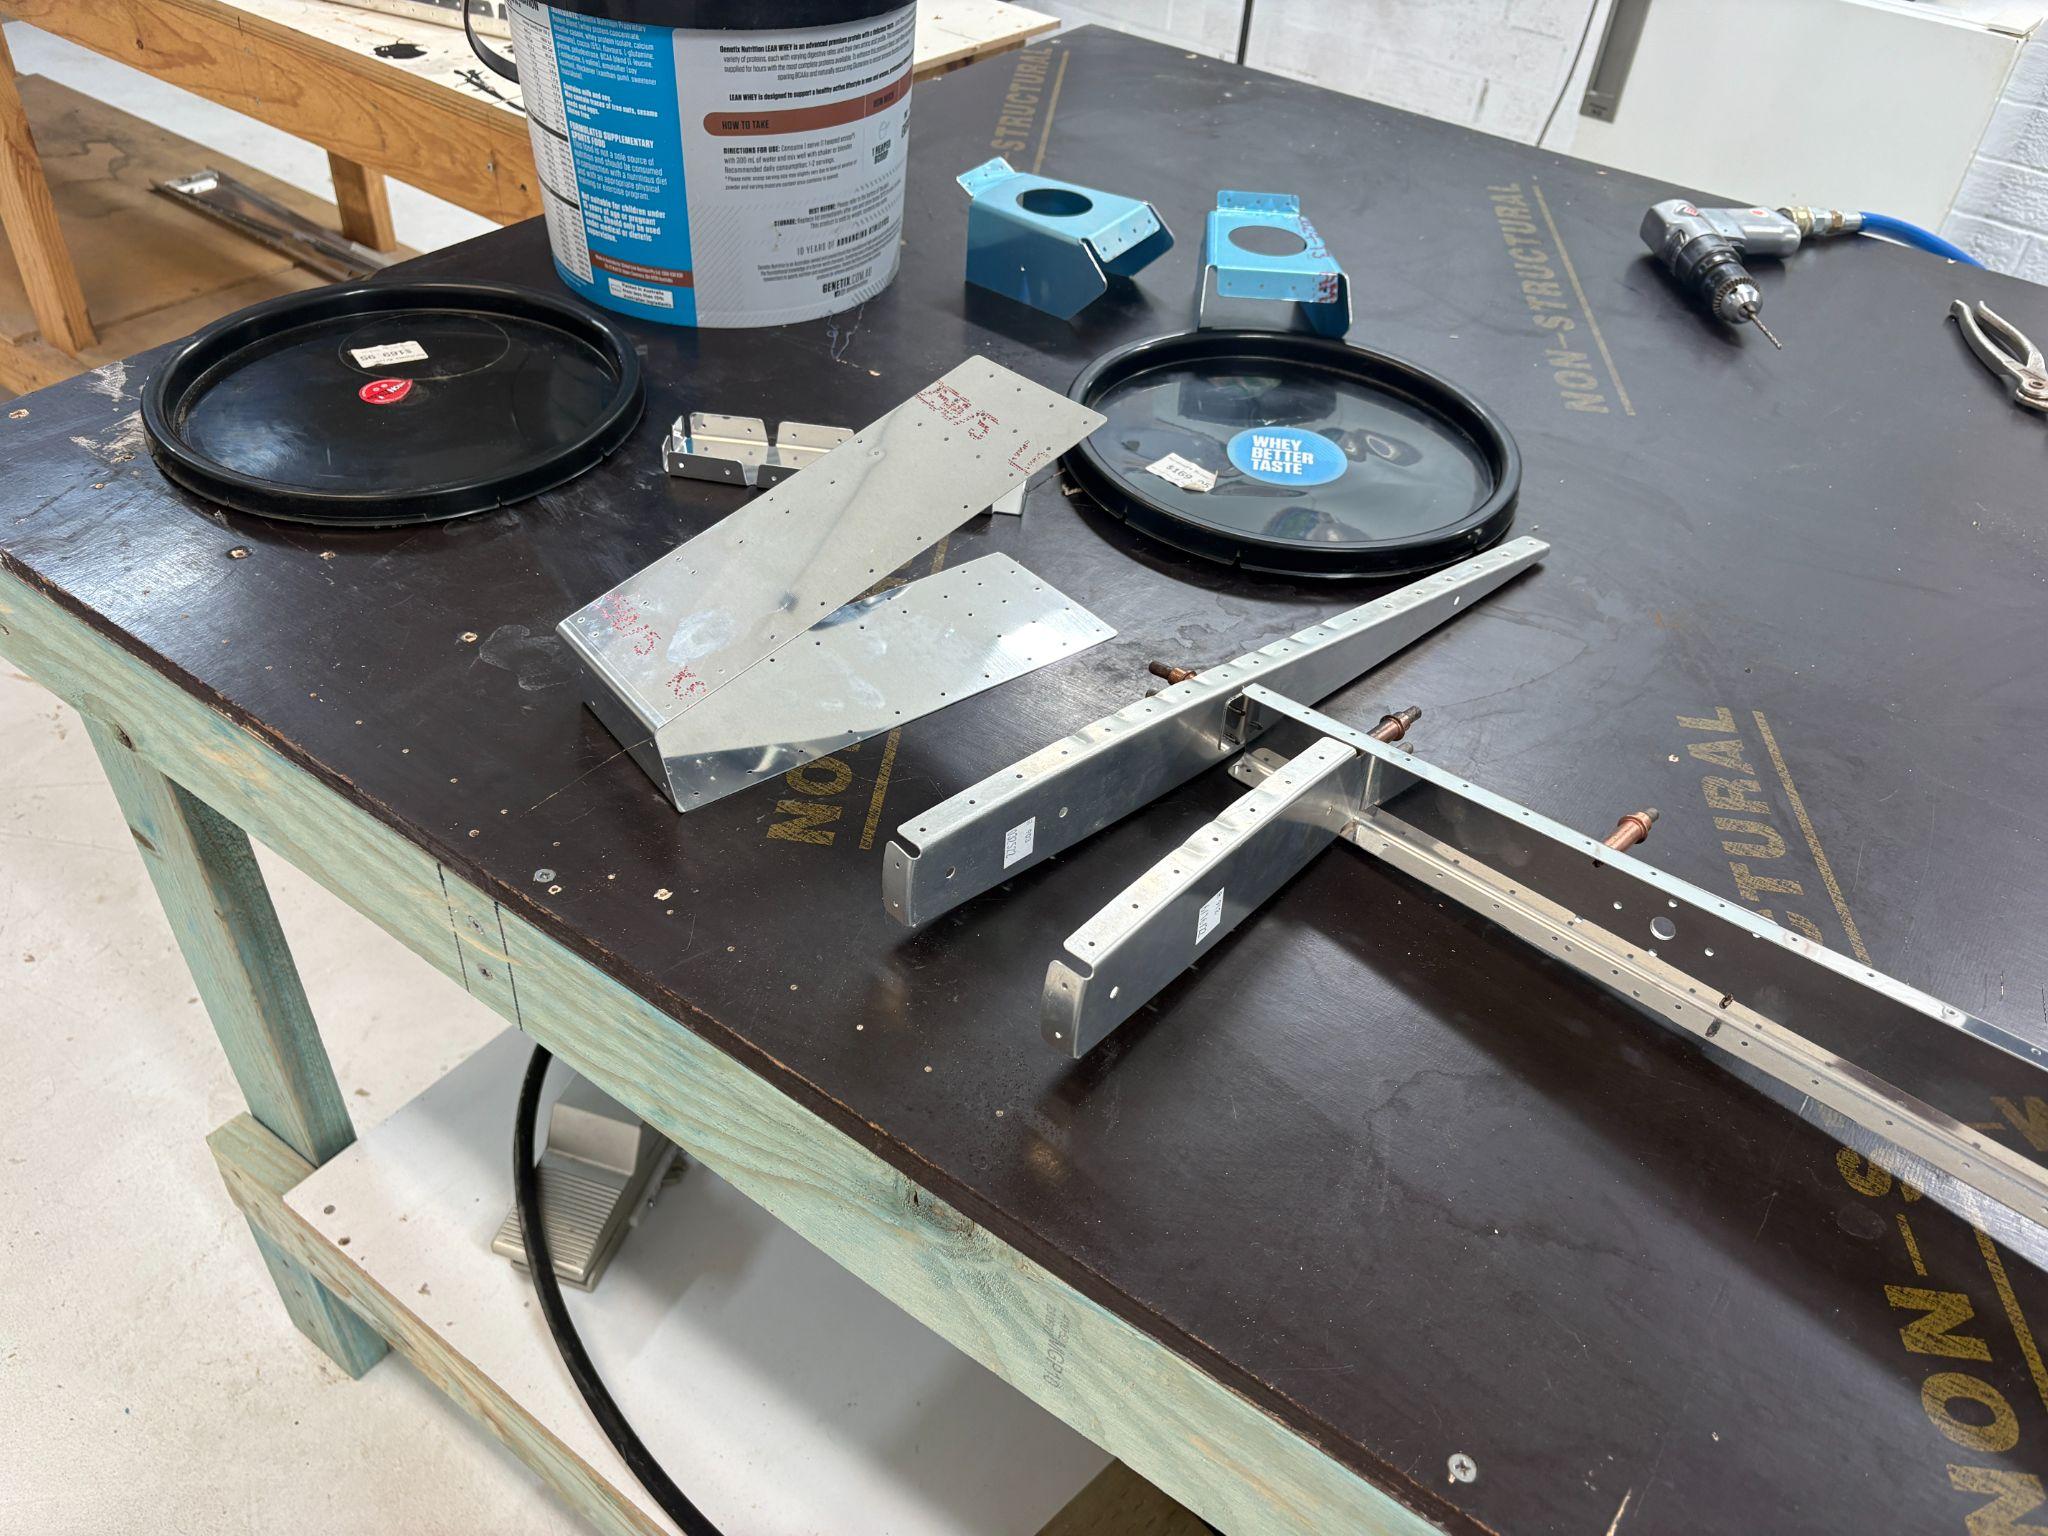
Starting on the rudder. Got all the backrivetted stiffeners in place, now isolating the required parts for cleaning and work.
The shop as it sits now
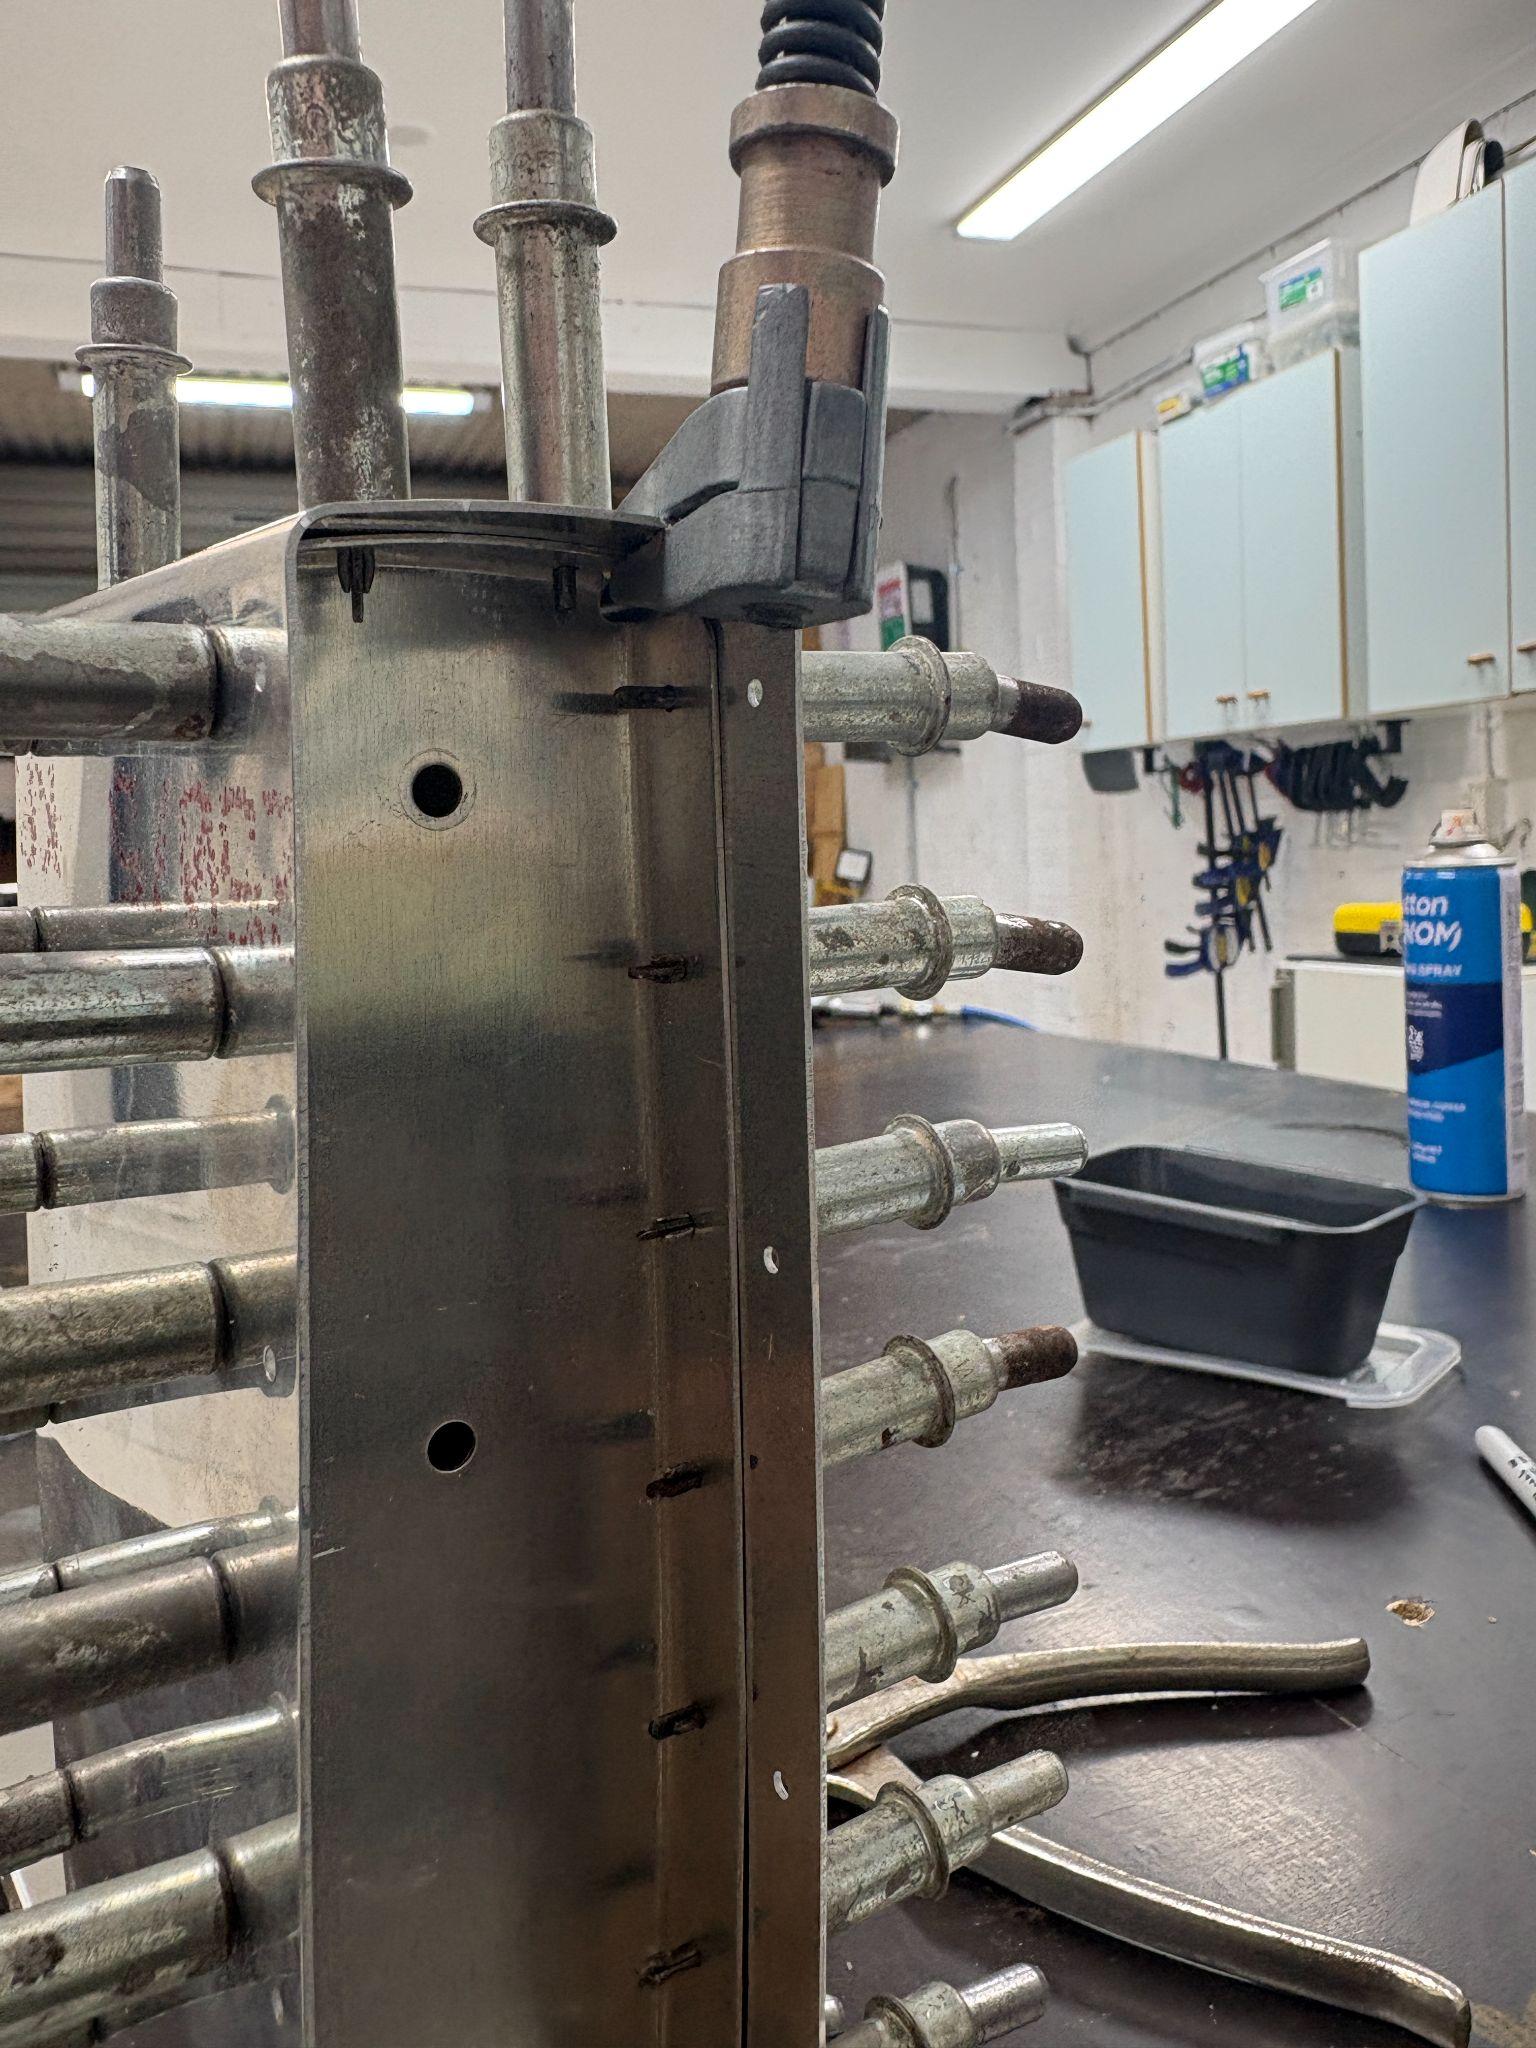
Major mistake on R-904 and R-902: The "enlarge the hole in the flange" instruction completely screwed me. I tried to do it with my horrible Ozito battery drill, thinking it would be fine (after not being able to mount it on my drill press). It munged the part and ripped the hole.
Ugh.
The result of using the wrong tool—munged part with ripped holeAir compressor hooked up and ready for proper drilling
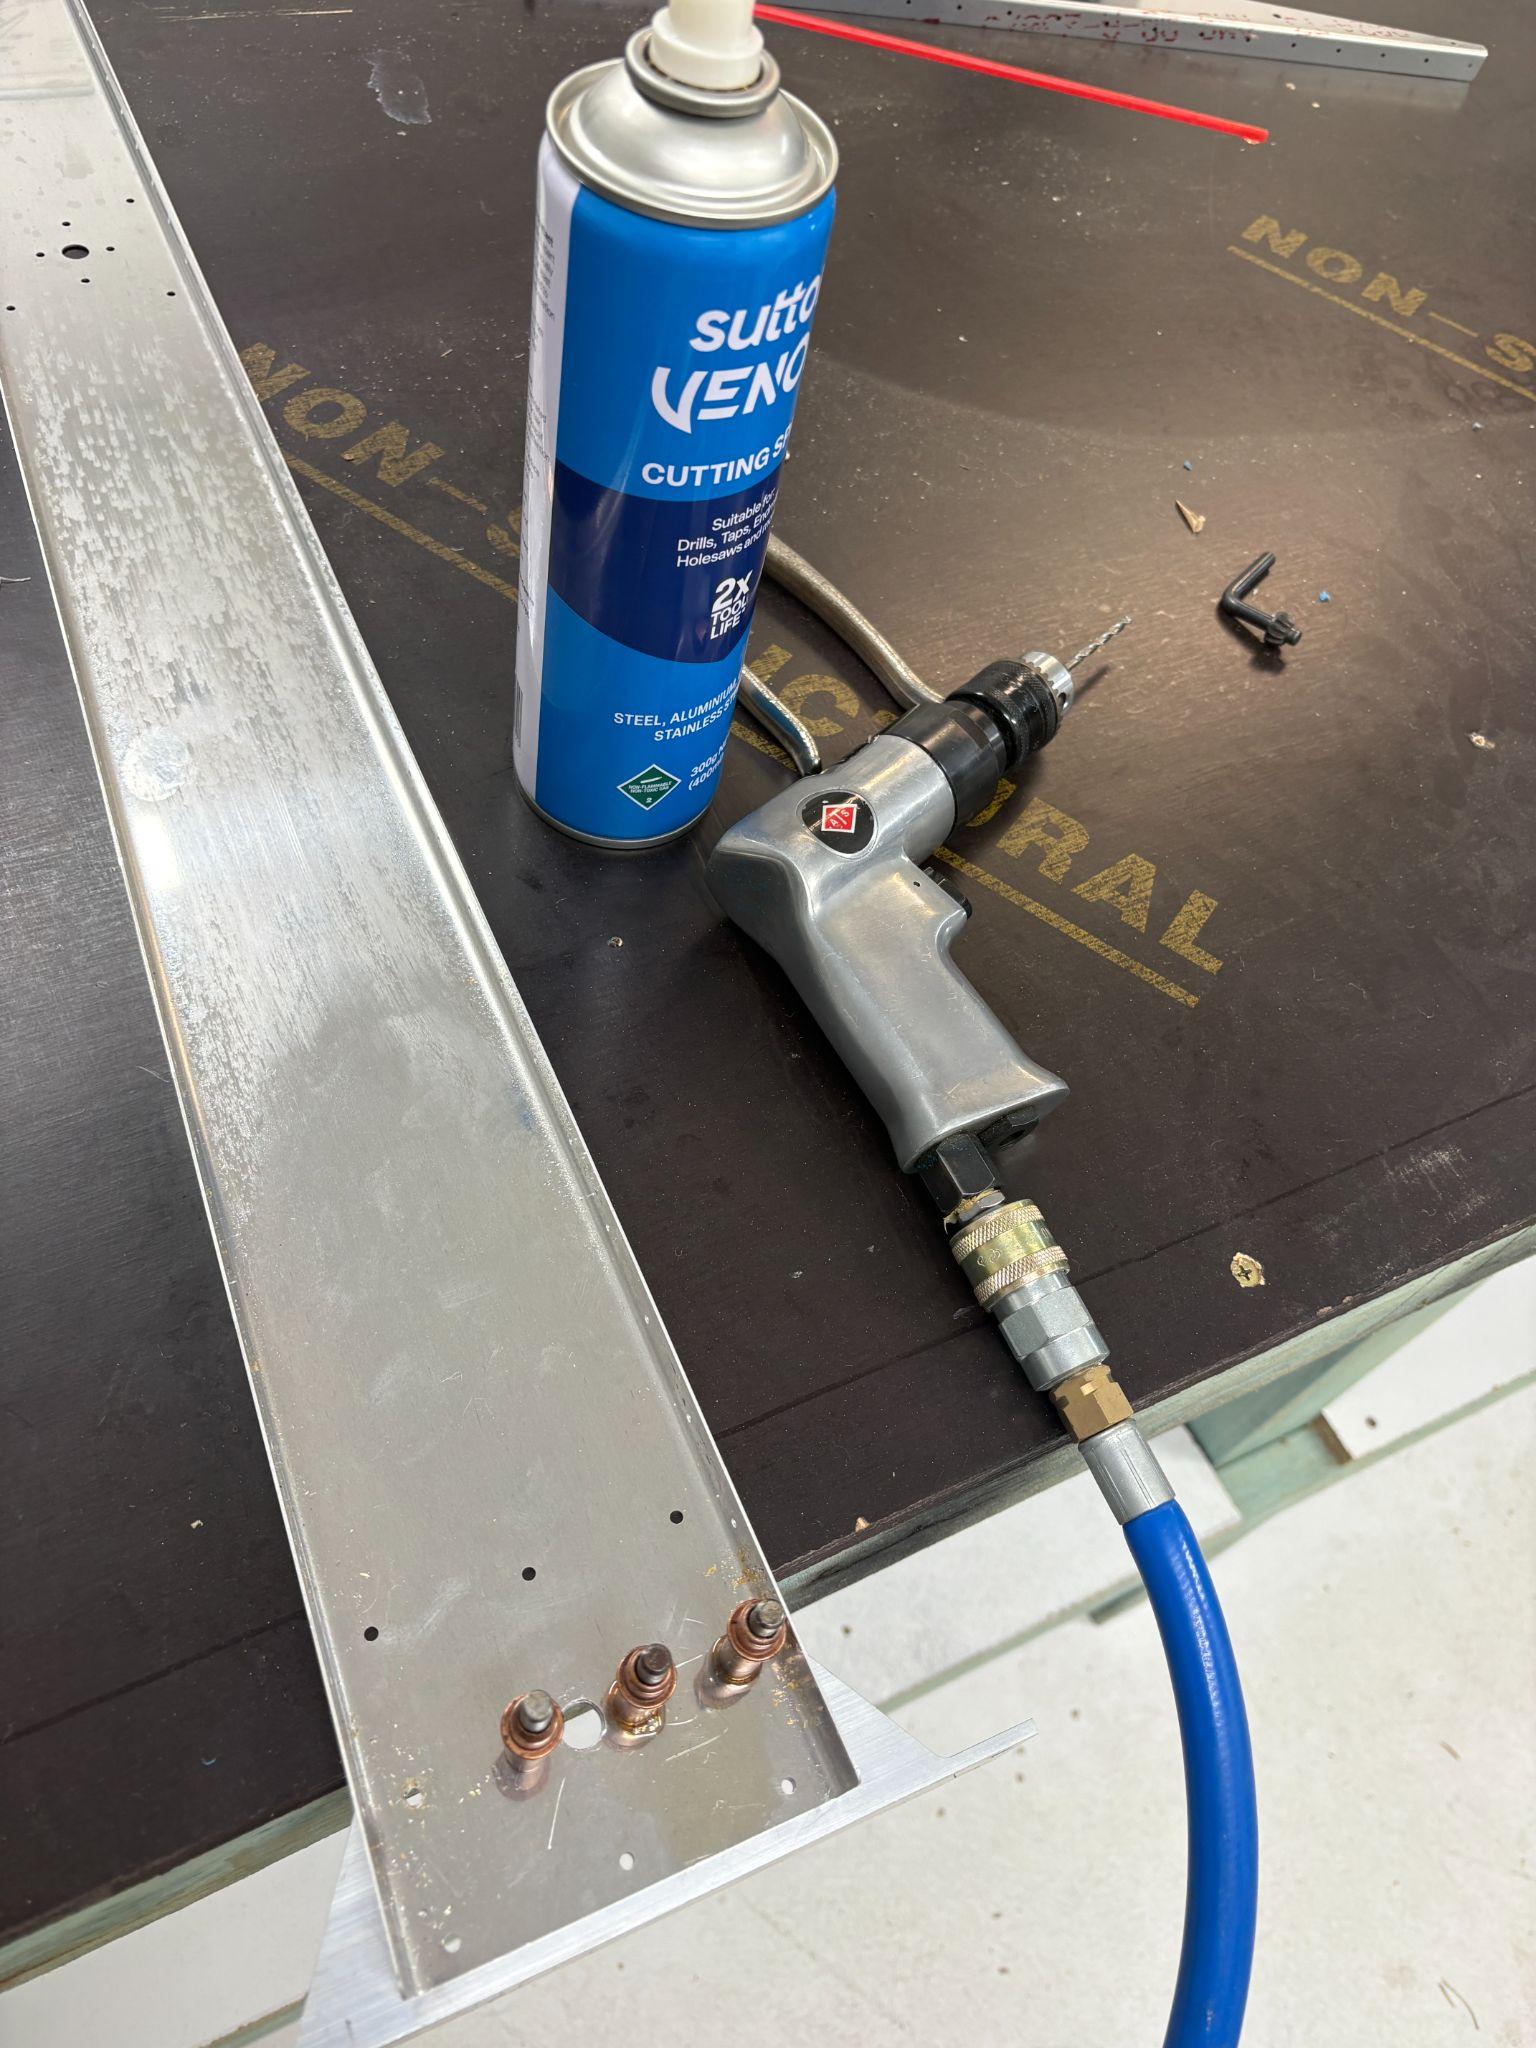
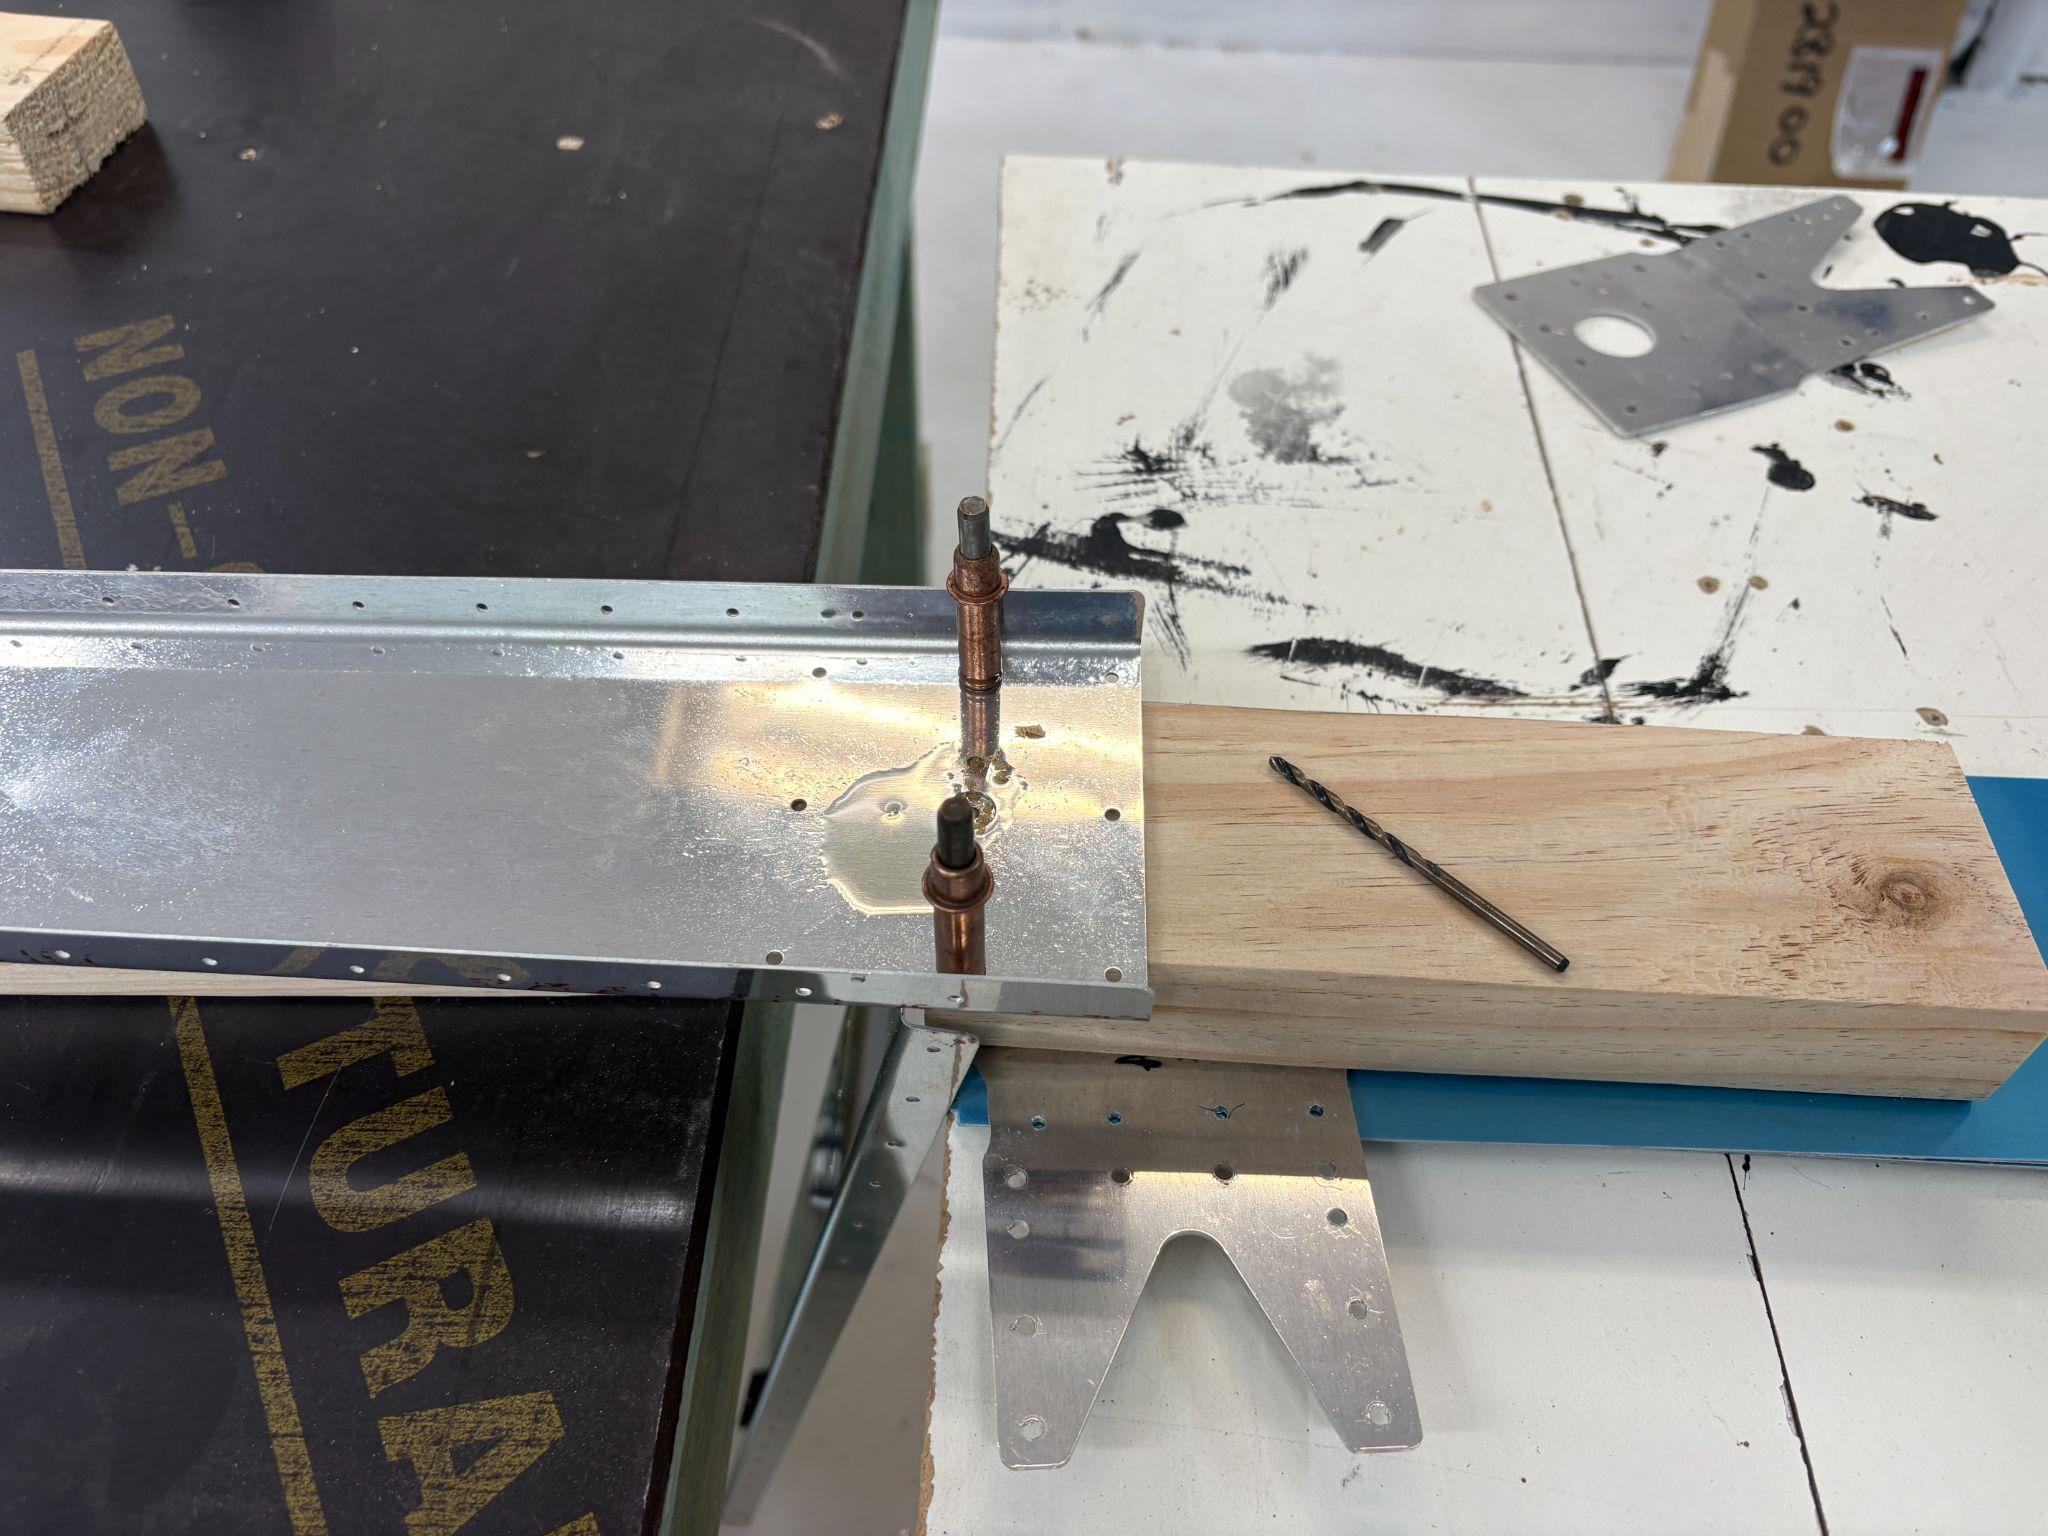
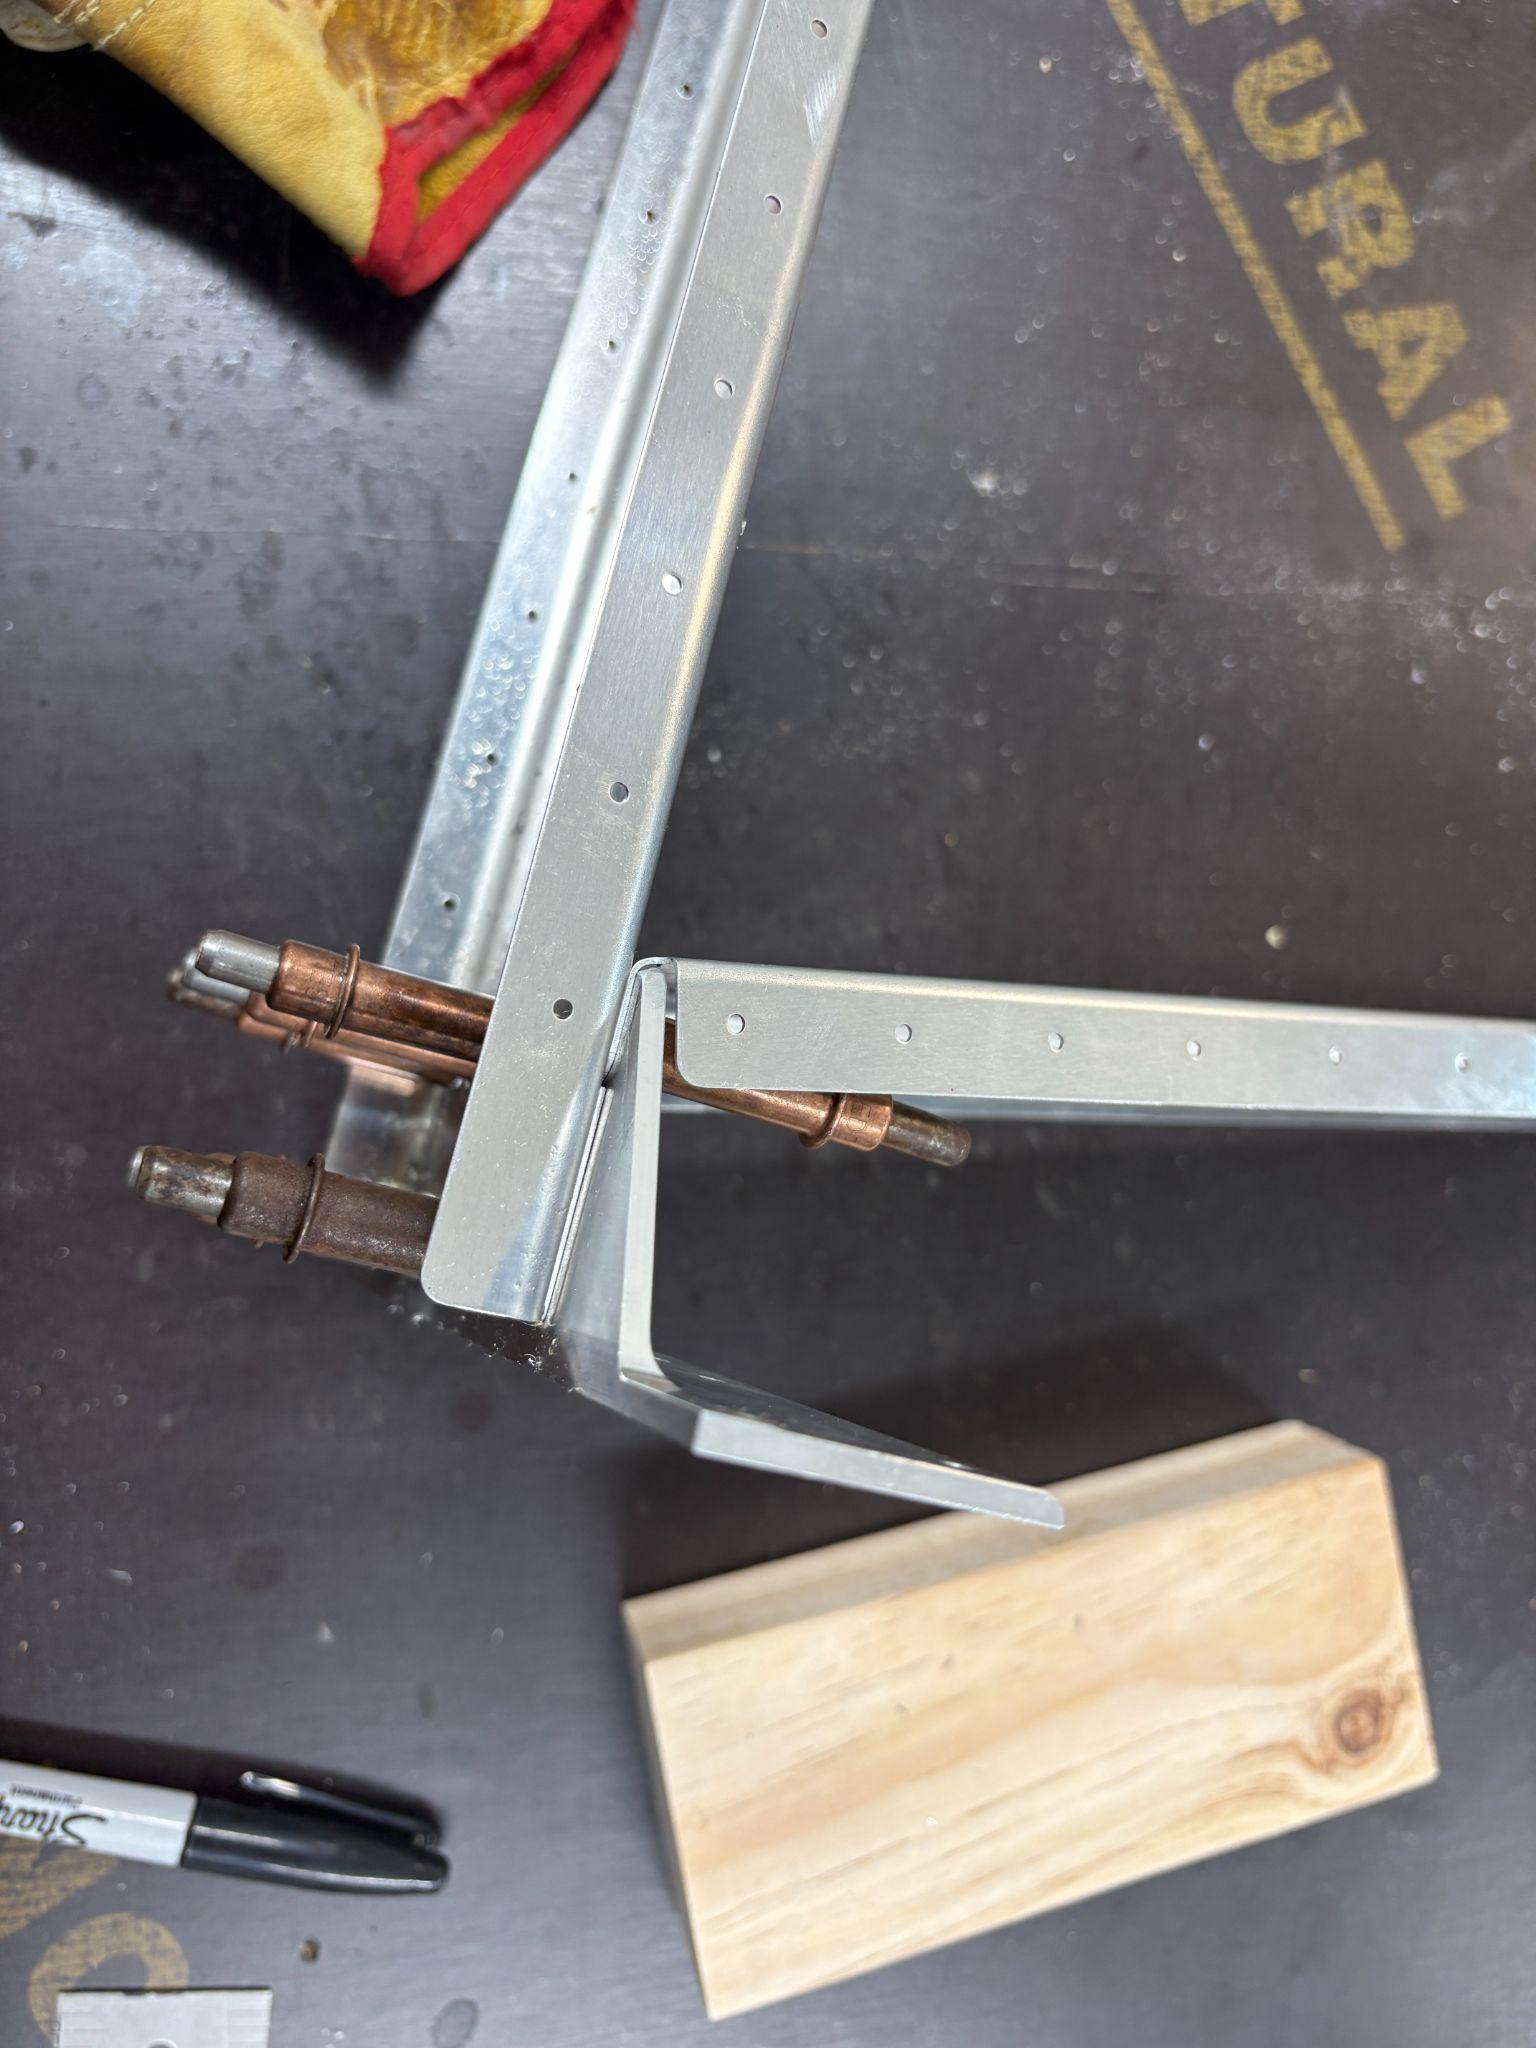
Fortunate outcome: I had spare 904 and 902 parts. Even more fortunate—Ian Warburton was a close call away. An hour later, I had the air compressor hooked up, had looked at a few online pics, and managed to brace and step drill the piece in six different steps using proper tools.
Success with air drill and proper technique—stepped drilling in six stages
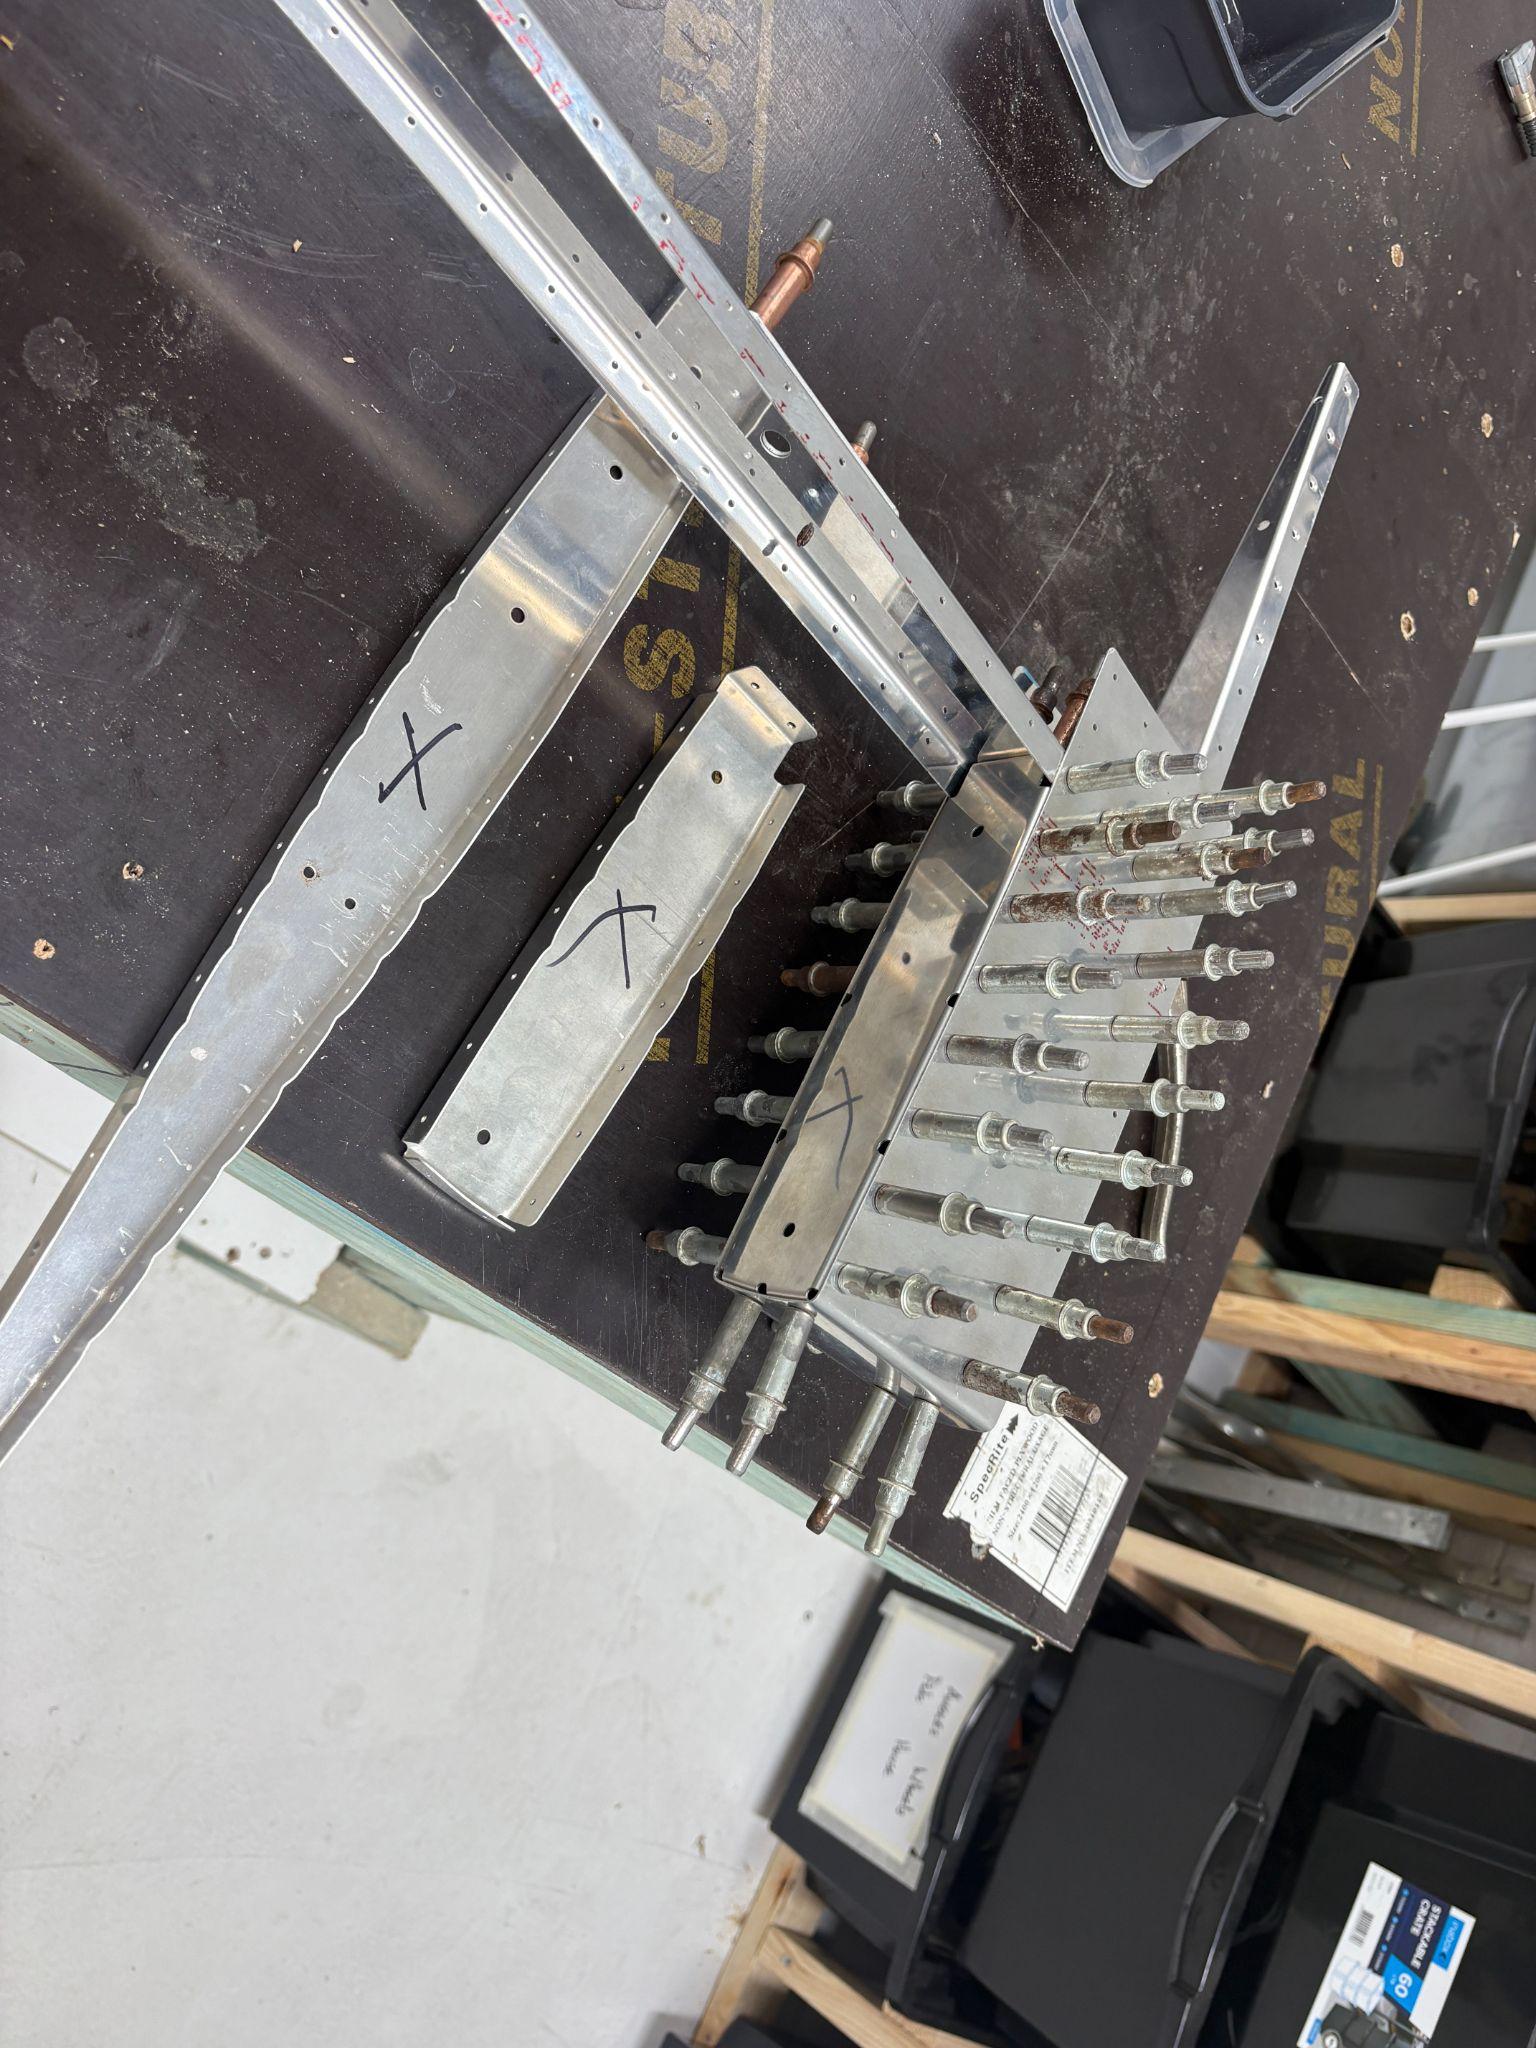
R-917 fabrication challenge: Looking at R-917, I need to fabricate from the stock which was provided. Fortunately, I've learned that EVERYTHING with this build needs to be checked online first. The stock provided is actually 3 different thicknesses. And I'm working with parts from two different builds split by 20 years.
Ugh.
Got out the micrometer and started measuring. Three different stock thicknesses confirmed.Sorted now—parts organized by thickness and build vintage
Critical lessons learned:
Use proper tools. Air drill, not battery drill, for aircraft work.
Verify all parts against online builder resources before starting.
When working with a kit spanning 20 years, measure everything with precision instruments.
Keep spare parts on hand when possible.
Don't hesitate to call experienced builders when stuck.
Time: ~5 hours (including mistake recovery)
11OCT2025
Restart and Equipment Setup
Decided to restart the build and pull everything out of storage. What a mess—dust, grime, and mouse poo.
Made the decision to start again as I've now got all the parts for the empennage. Researched primer systems and purchased Stewart Systems EkoClean, EkoEtch, and EkoPrime. Still need to configure the air compressor and acquire paint gun and paint lid.
Equipment purchased/planned:
Paint Lid: Rockler Mixing Mate (gallon size) - stir, pour, and store
Paint Gun System: 3M Accuspray Paint Spray Gun System with PPS 2.0, 26580
Primer System: Stewart Systems EkoClean, EkoEtch, and EkoPrime
Spent three hours clearing and reorganizing the garage workspace—removing the accumulated mess from storage and setting up a proper work environment.
Time: 3 hours
Build Statistics
5Build Sessions
~17Hours Logged
23Photos Taken
2Parts Damaged
Next Steps
Complete deburring of all rudder skins and components
Etch and clean all parts using Stewart Systems EkoClean and EkoEtch
Apply EkoPrime coating with 3M Accuspray system
Research trailing edge riveting techniques
Final rudder assembly after priming
Begin work on remaining empennage components (elevator, horizontal stabilizer, vertical stabilizer)